Hike /Schweiz Mobil
Prättigauer Höhenweg, Stage 3/4
CarschinahütteSt. Antönien
- Distance
- 10.0 km
- Duration
- 2:50 h
- Ascent
- 150 m
- Descent
- 950 m
- Difficulty
- Moderate
- Fitness
- Hard
- Route type
- One way
01/ Overview
The route
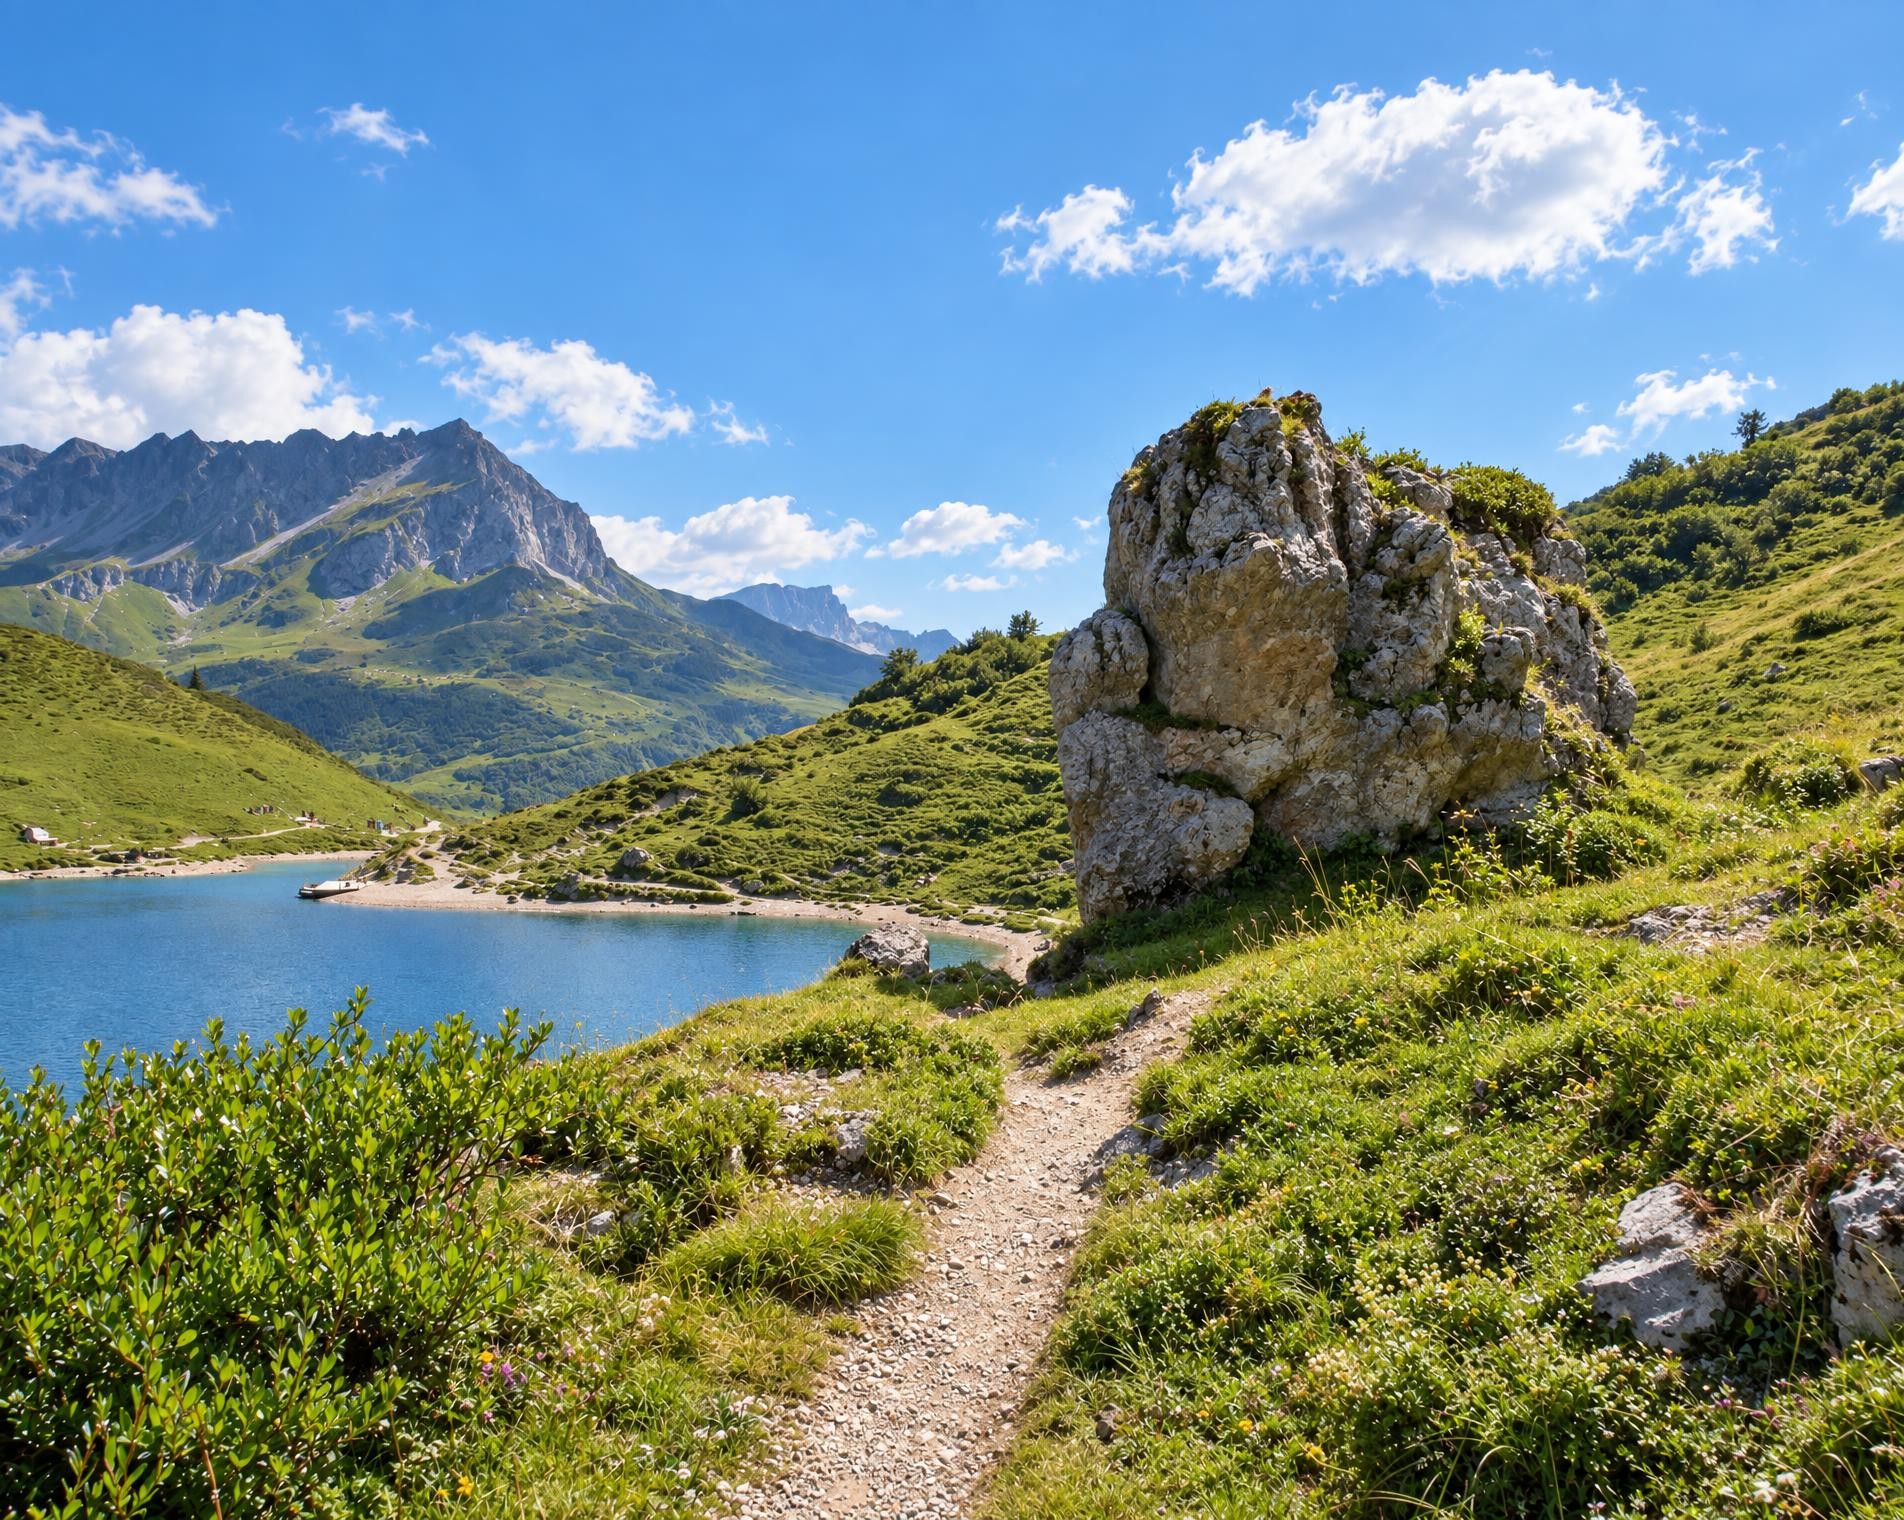
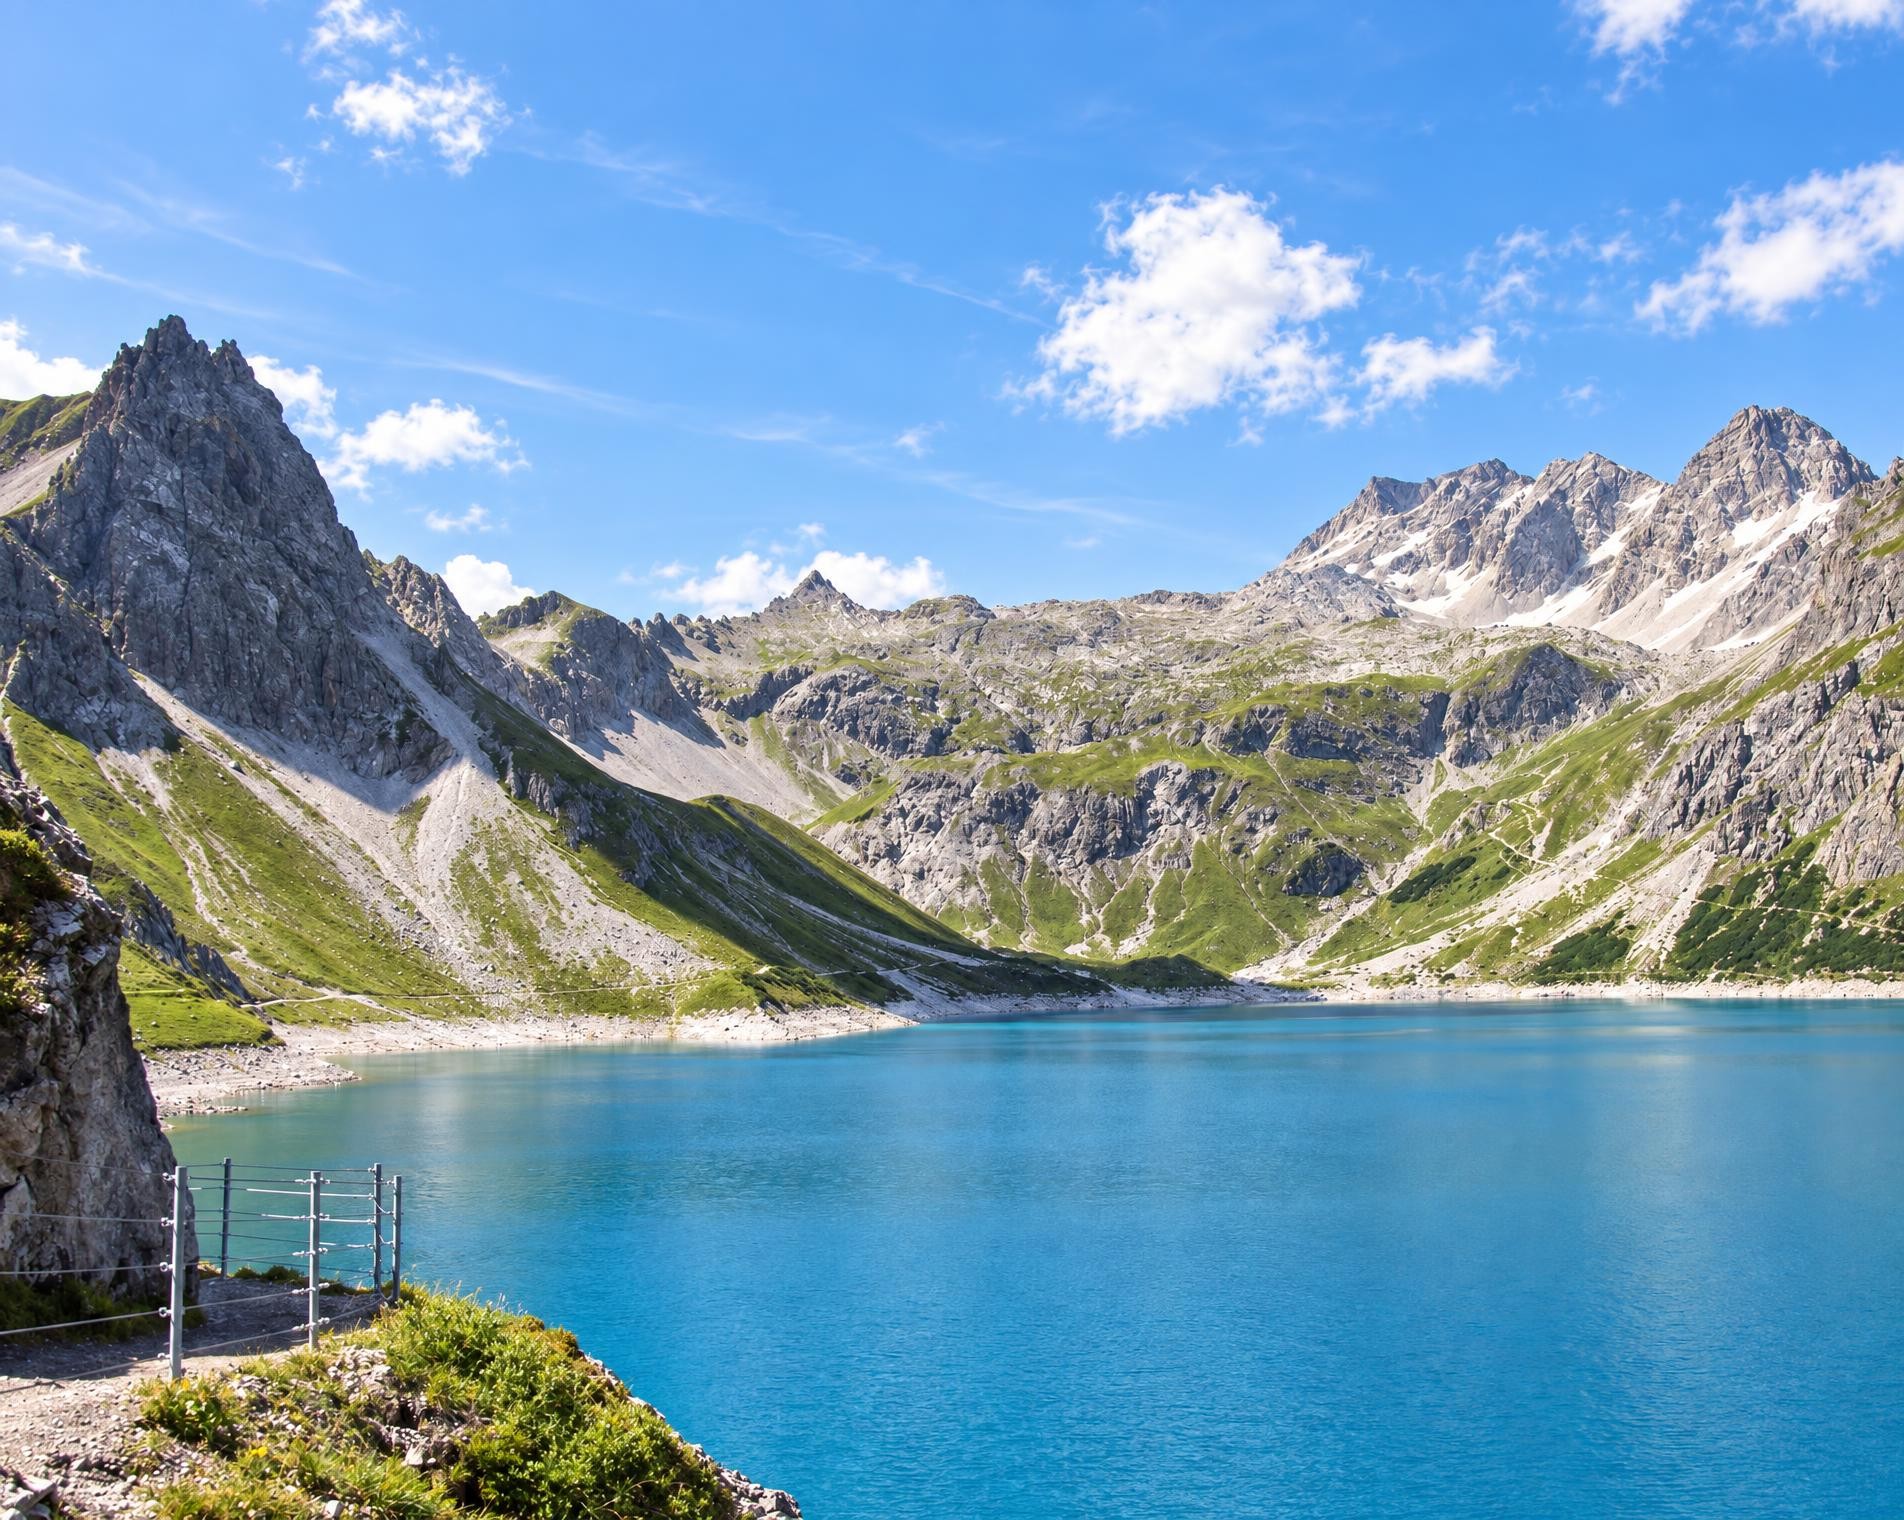
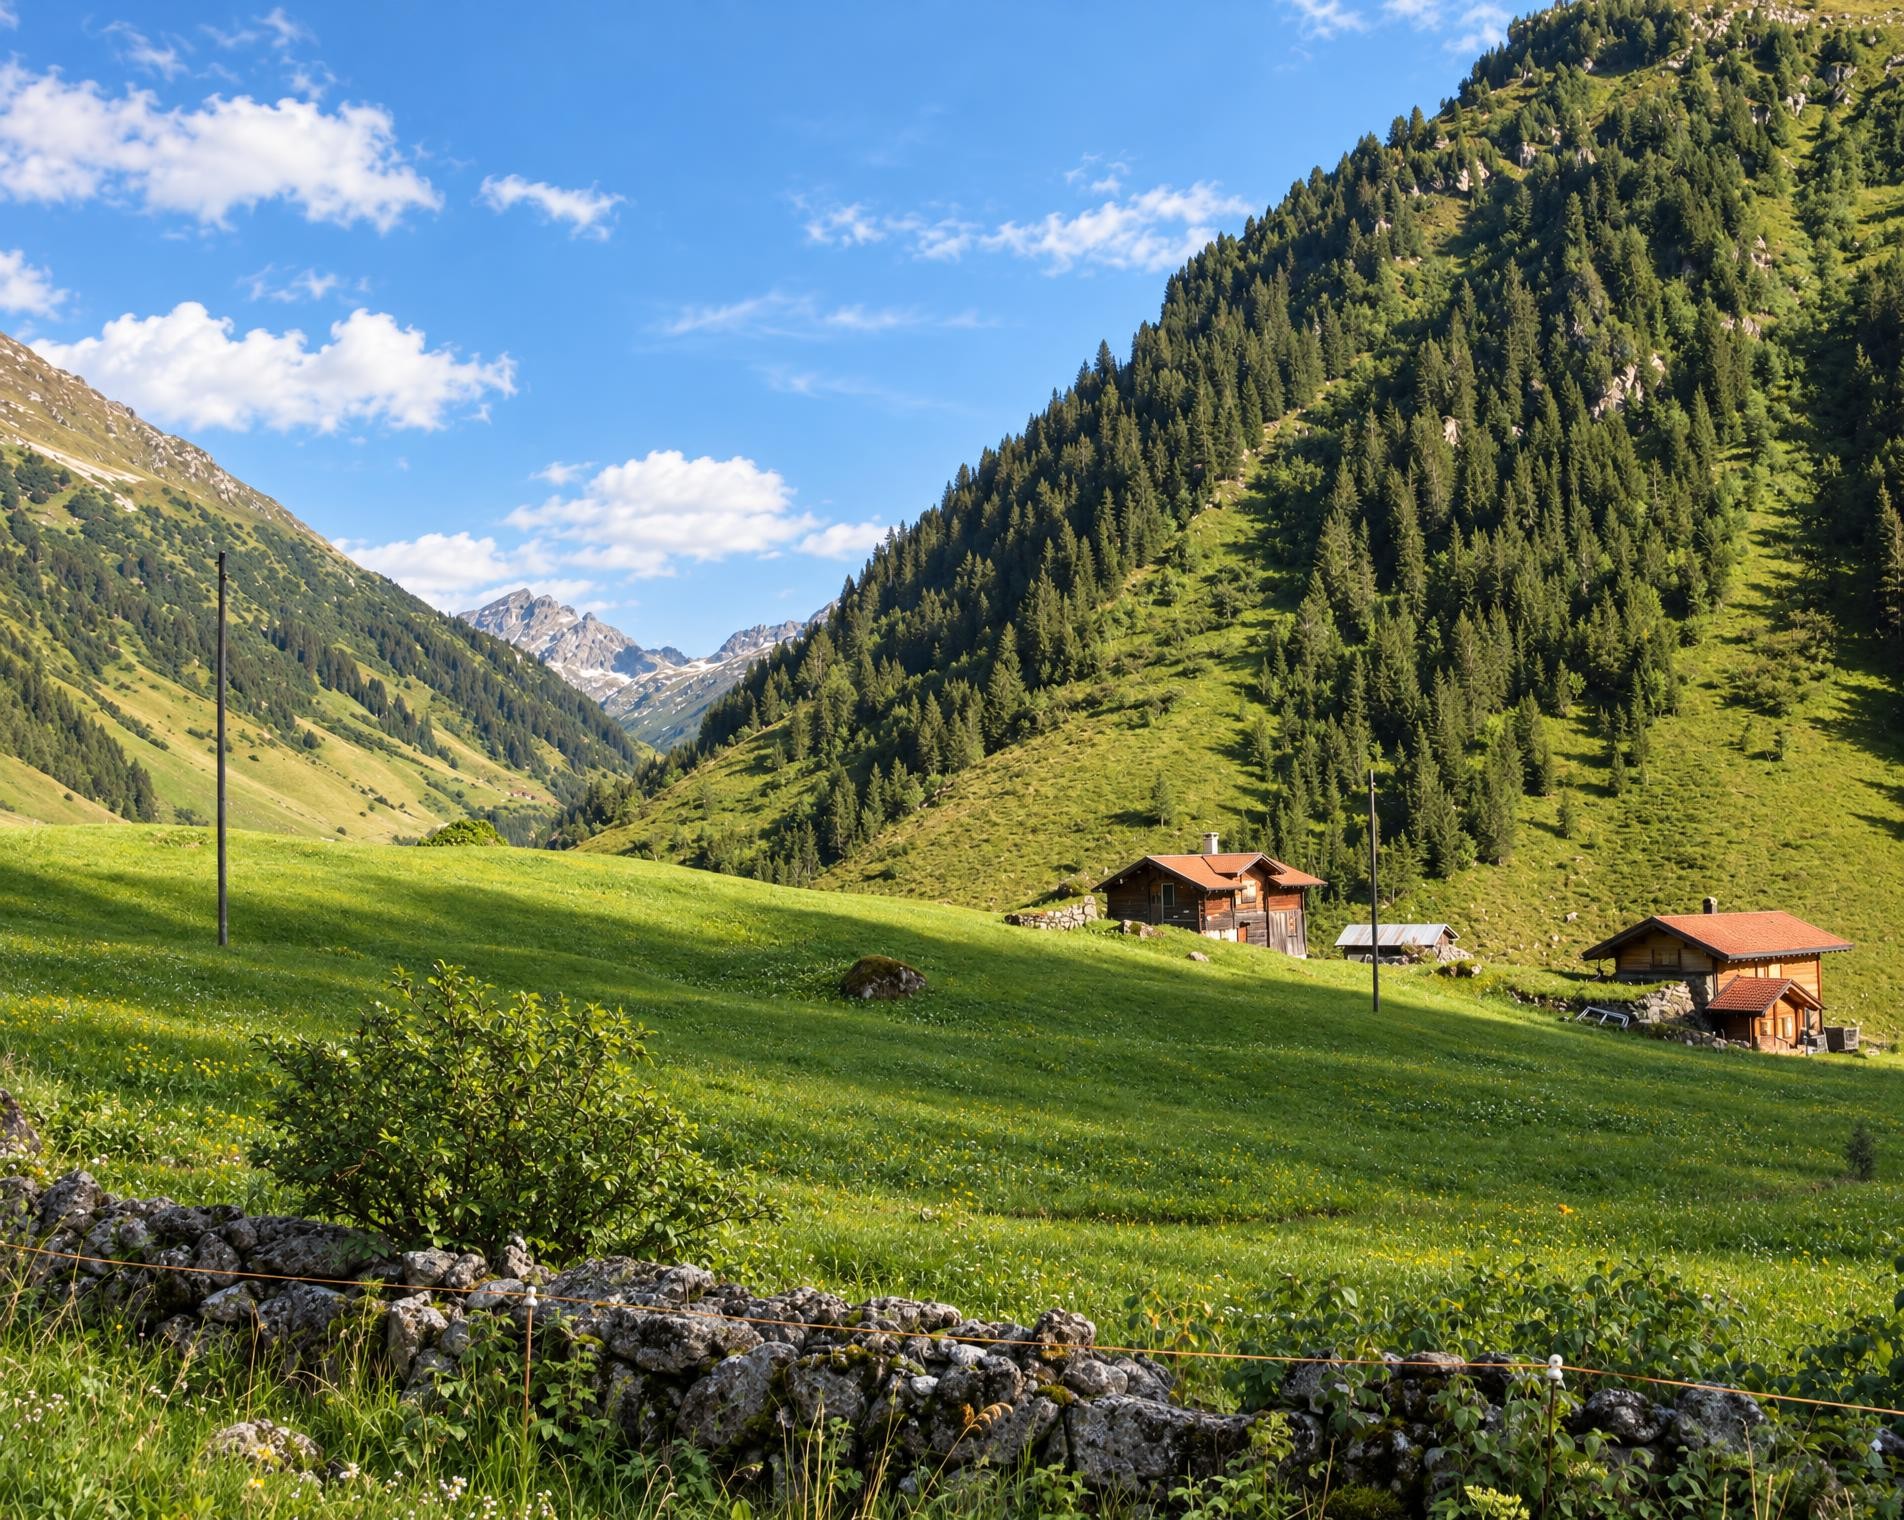
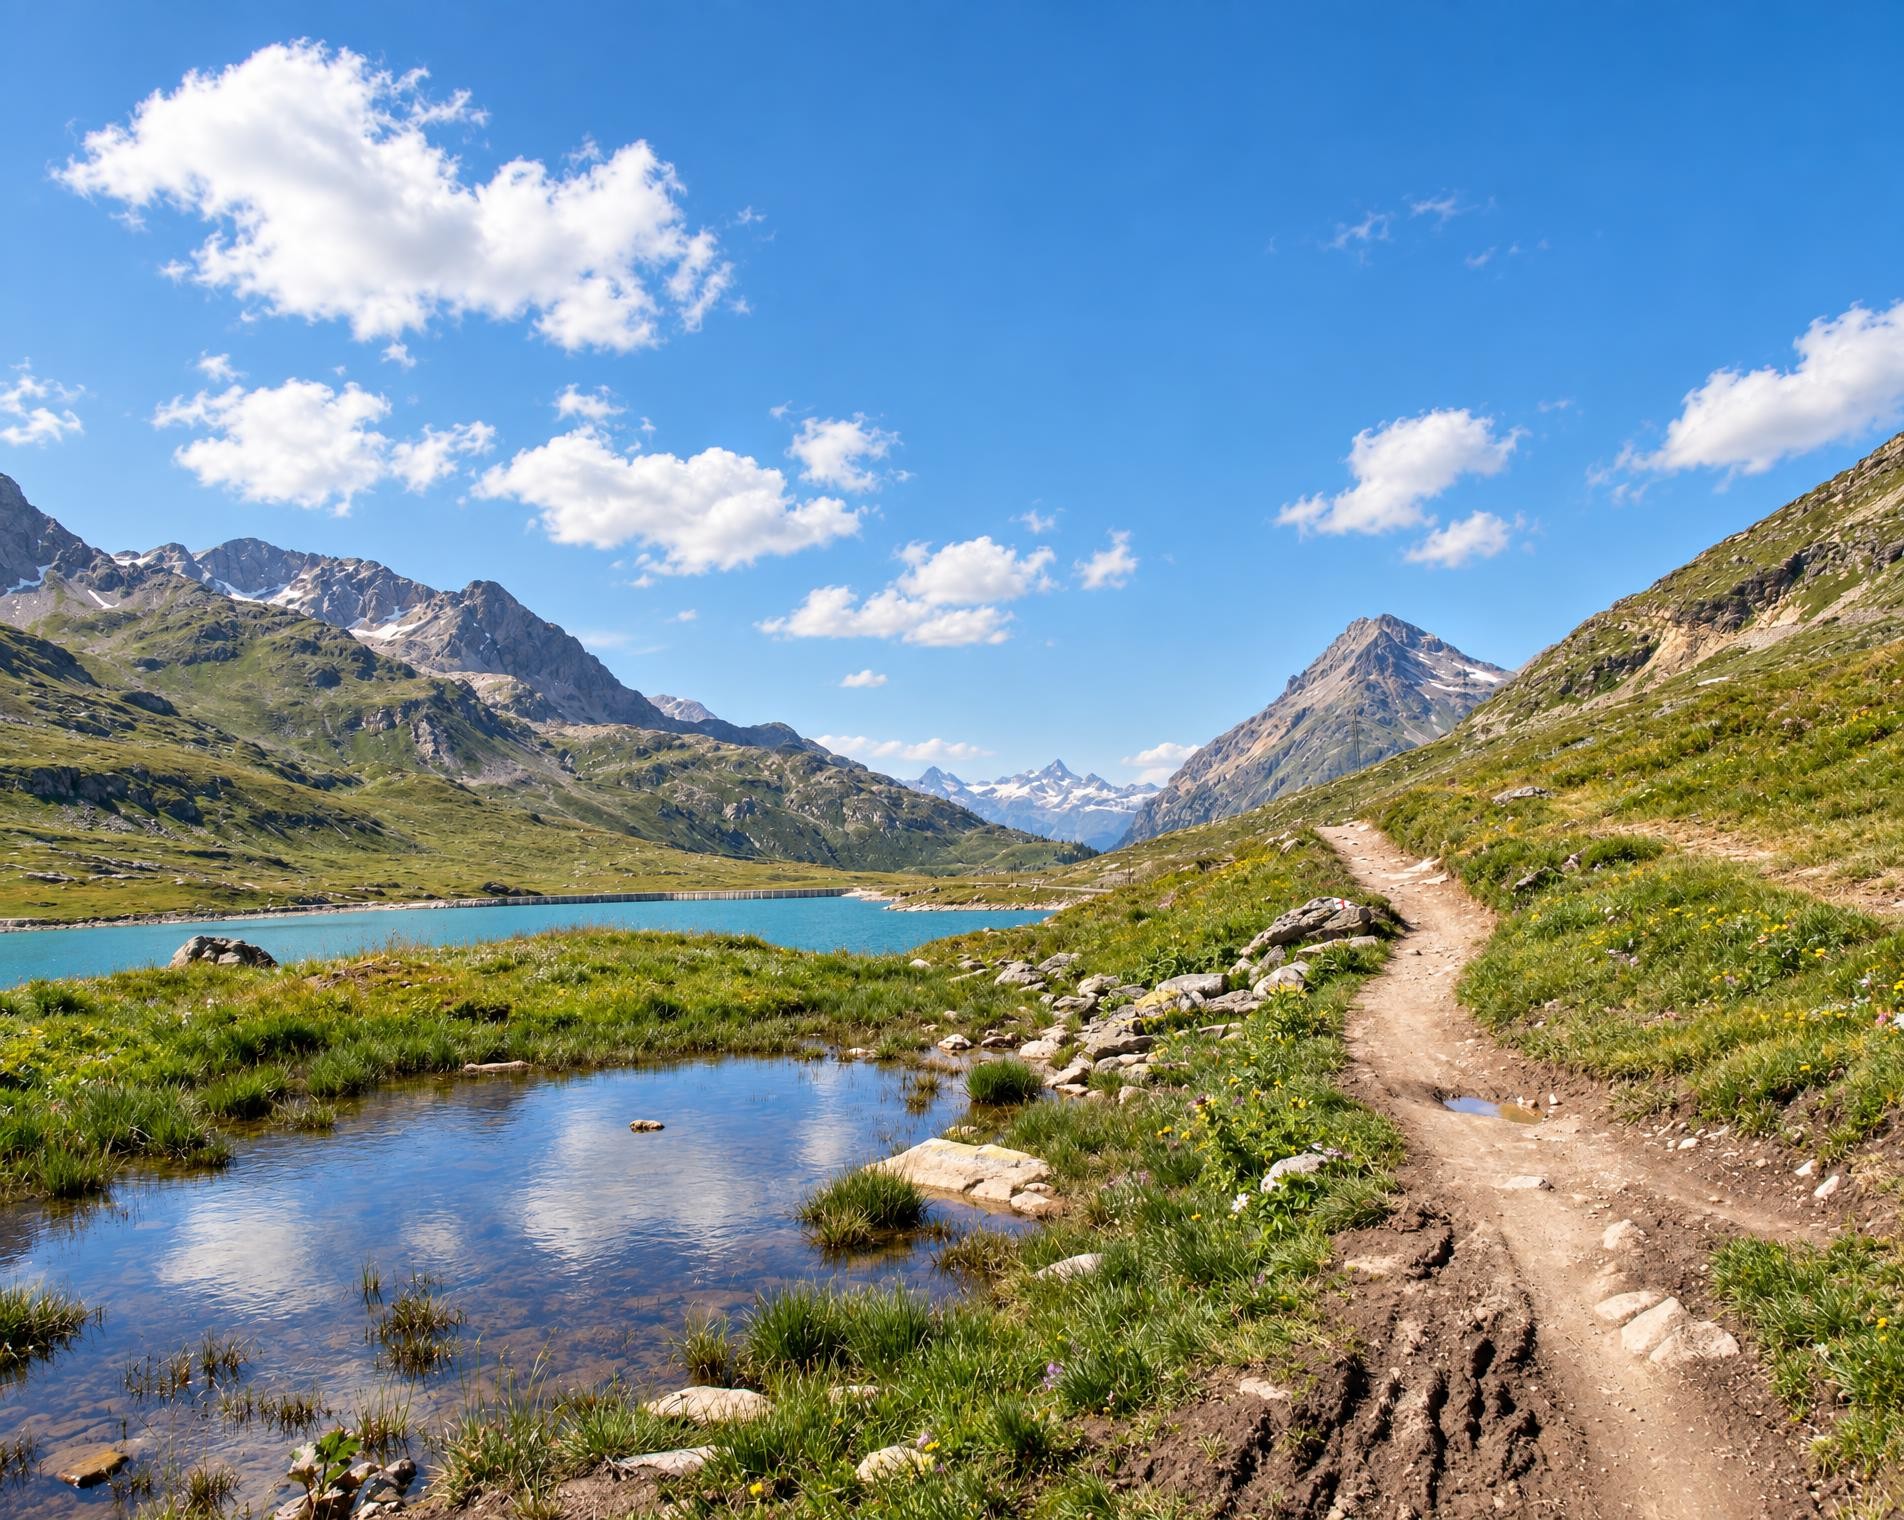
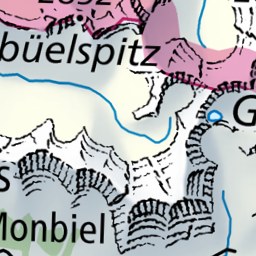
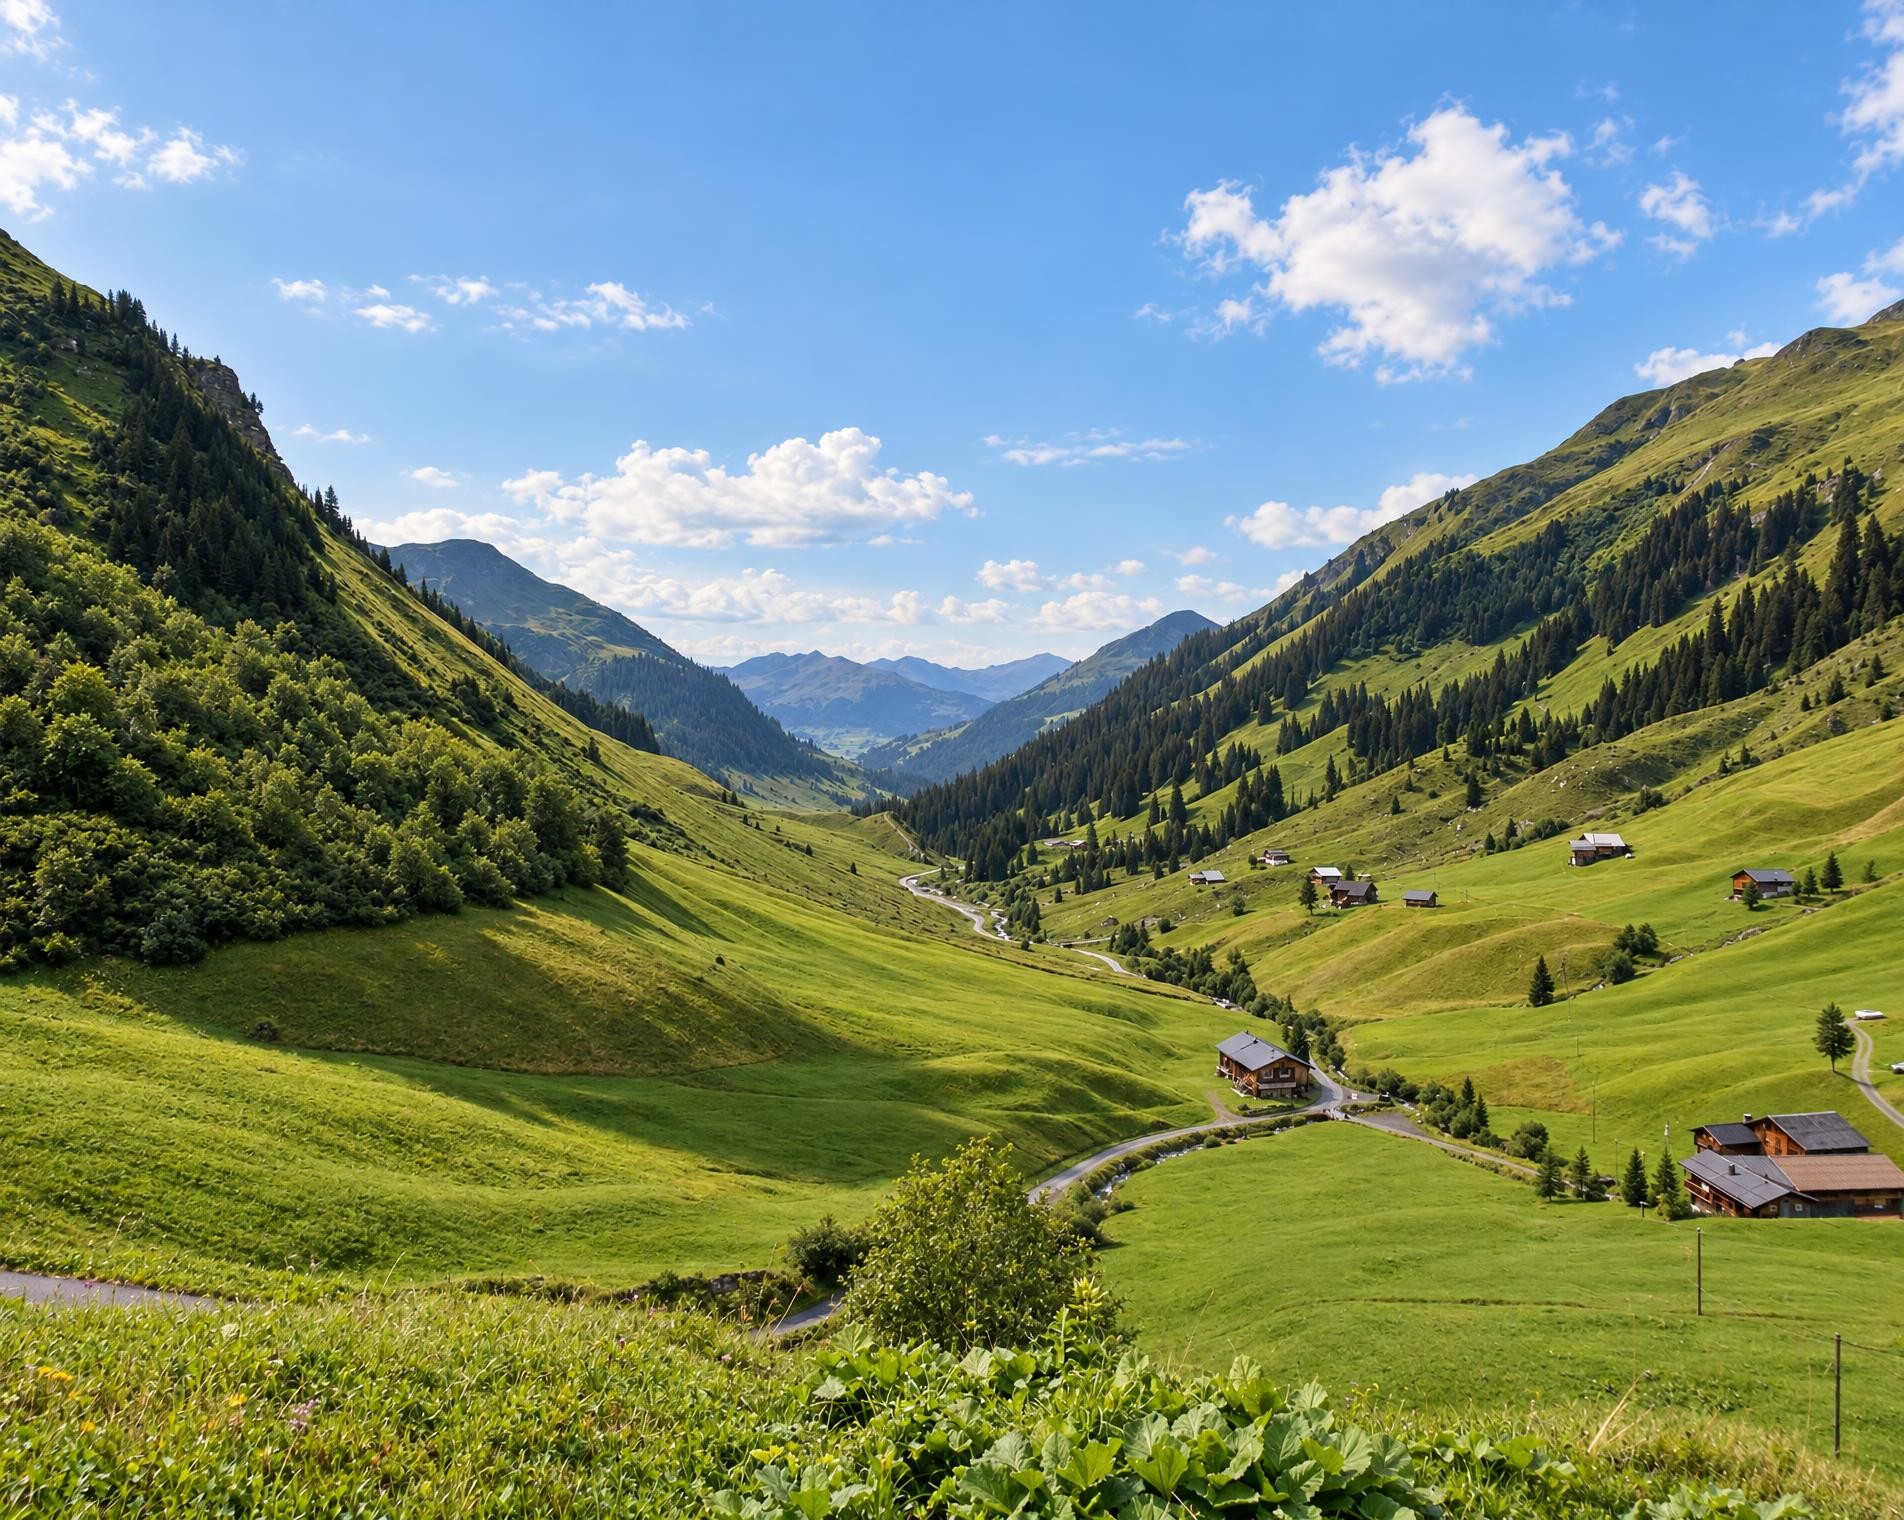
The descent from the Carschina Hut to St. Antönien passes below the limestone cliffs of the Sulzfluh and Schijenflue. The area is a popular climbing paradise, and crystal-clear Partnunsee lake invites you to take a dip. Numerous scattered settlements and pastures are reminders of the Walser culture.
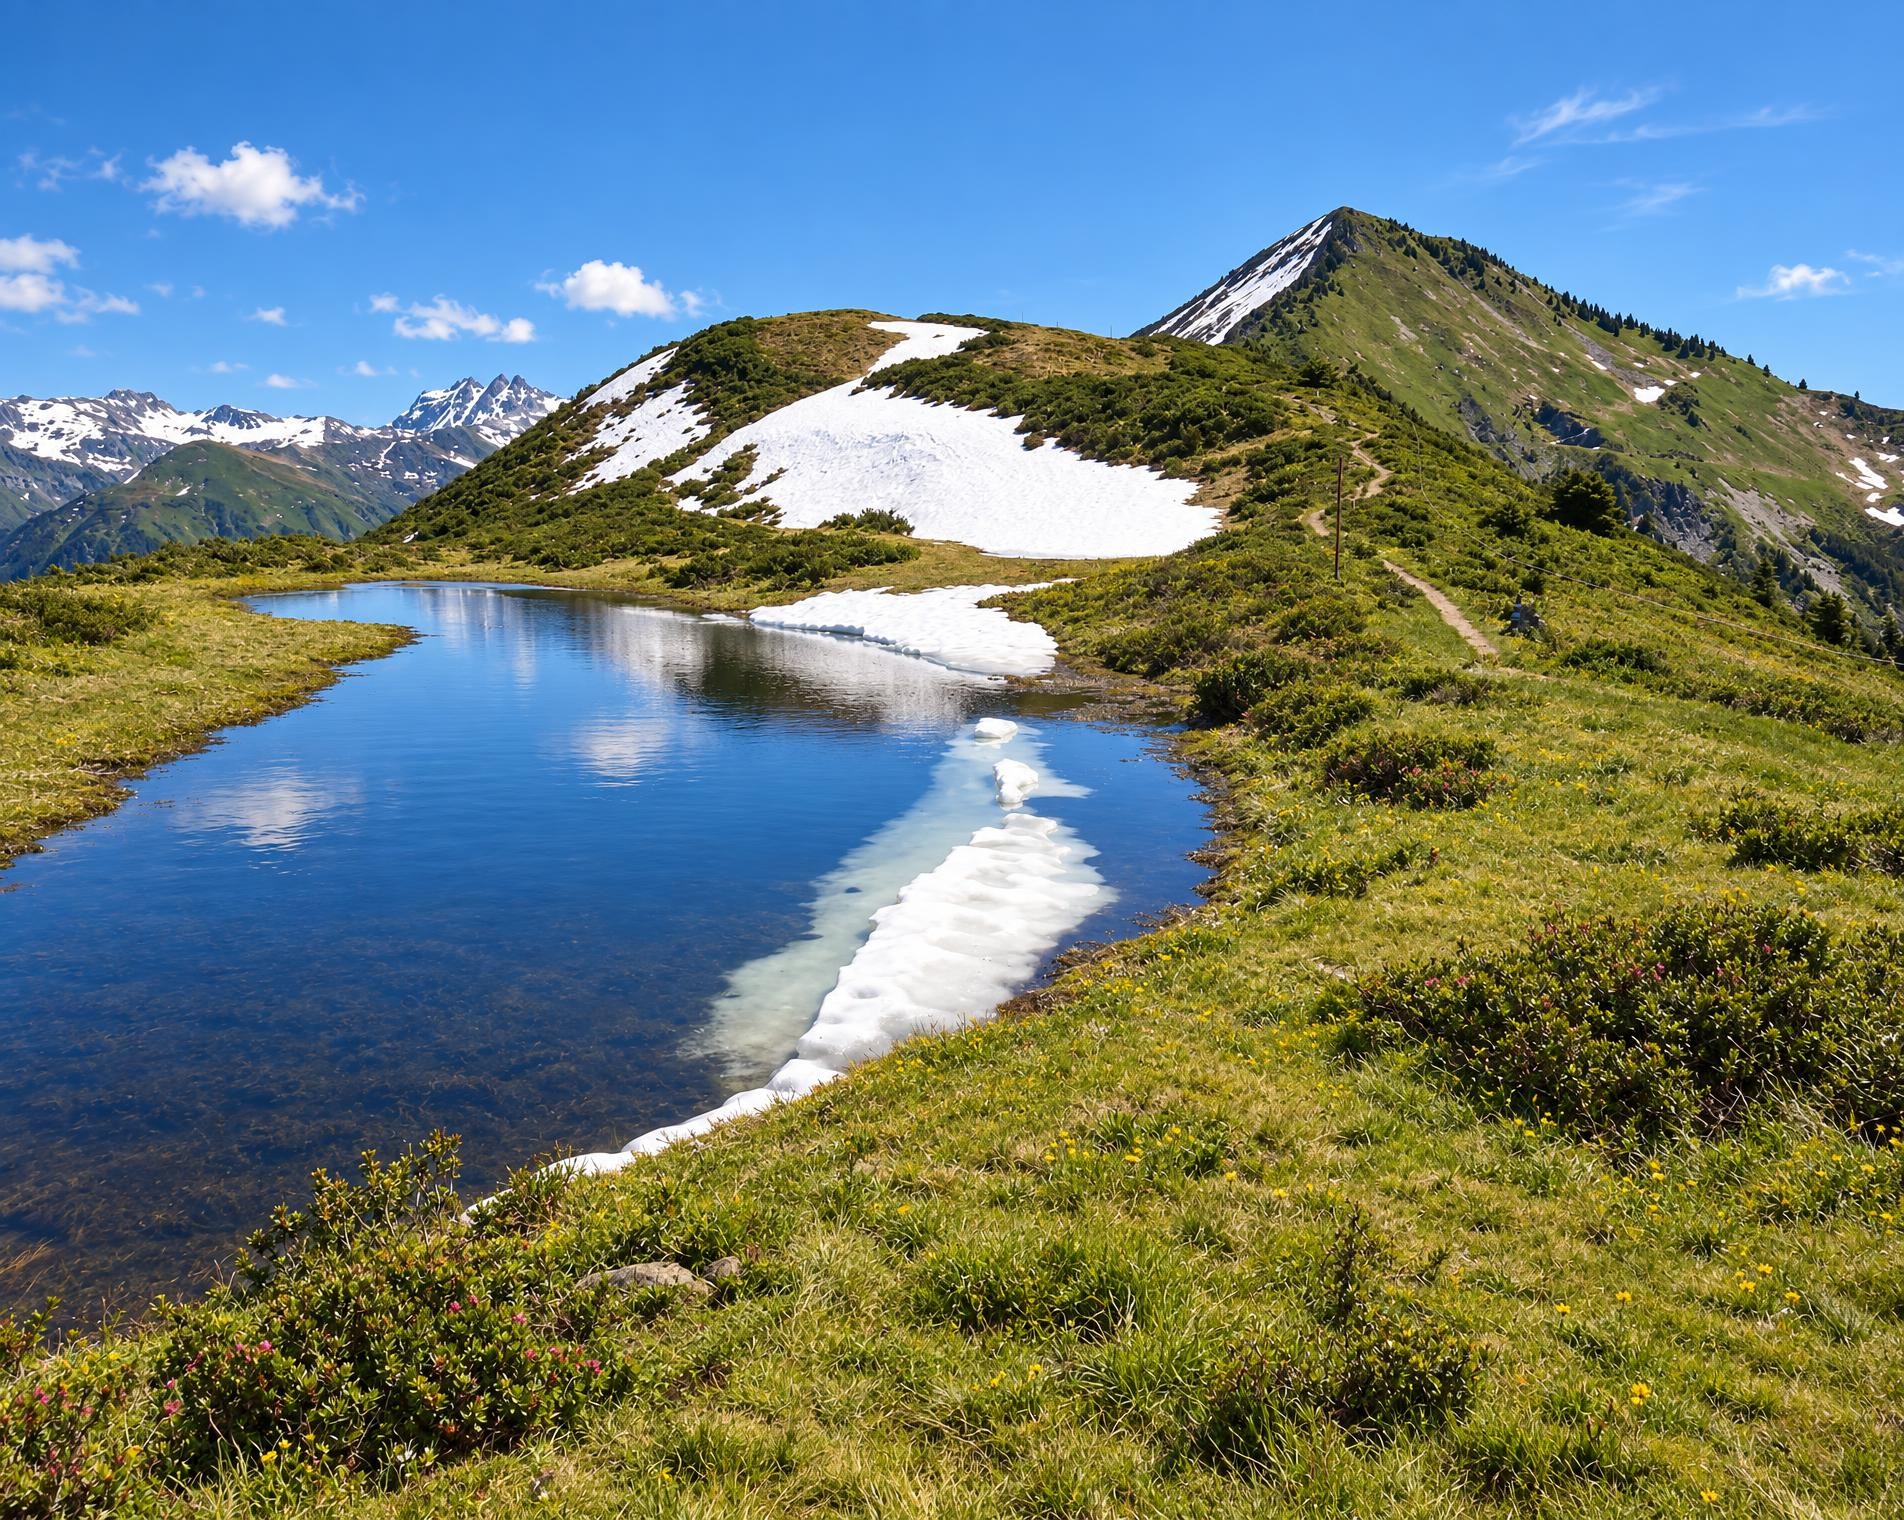
The hike begins at Carschinahütte at just over 2,200 m, the highest point on the route. There is no direct public transport connection; the nearest stop, St. Antönien, Bärgli, is around 2.6 km away. From the hut, the mountain path, marked in white-red-white, descends through rocky terrain and across open pastures. Short uphill sections interrupt the long descent.
After about an hour, the route reaches Partnunsee. From the lakeshore, the path continues to Alpenrösli and the small settlement of Partnun. Here, the barren mountain landscape gradually gives way to greener slopes. Views open up into the St. Antönien valley as the mountain path continues to lose elevation.
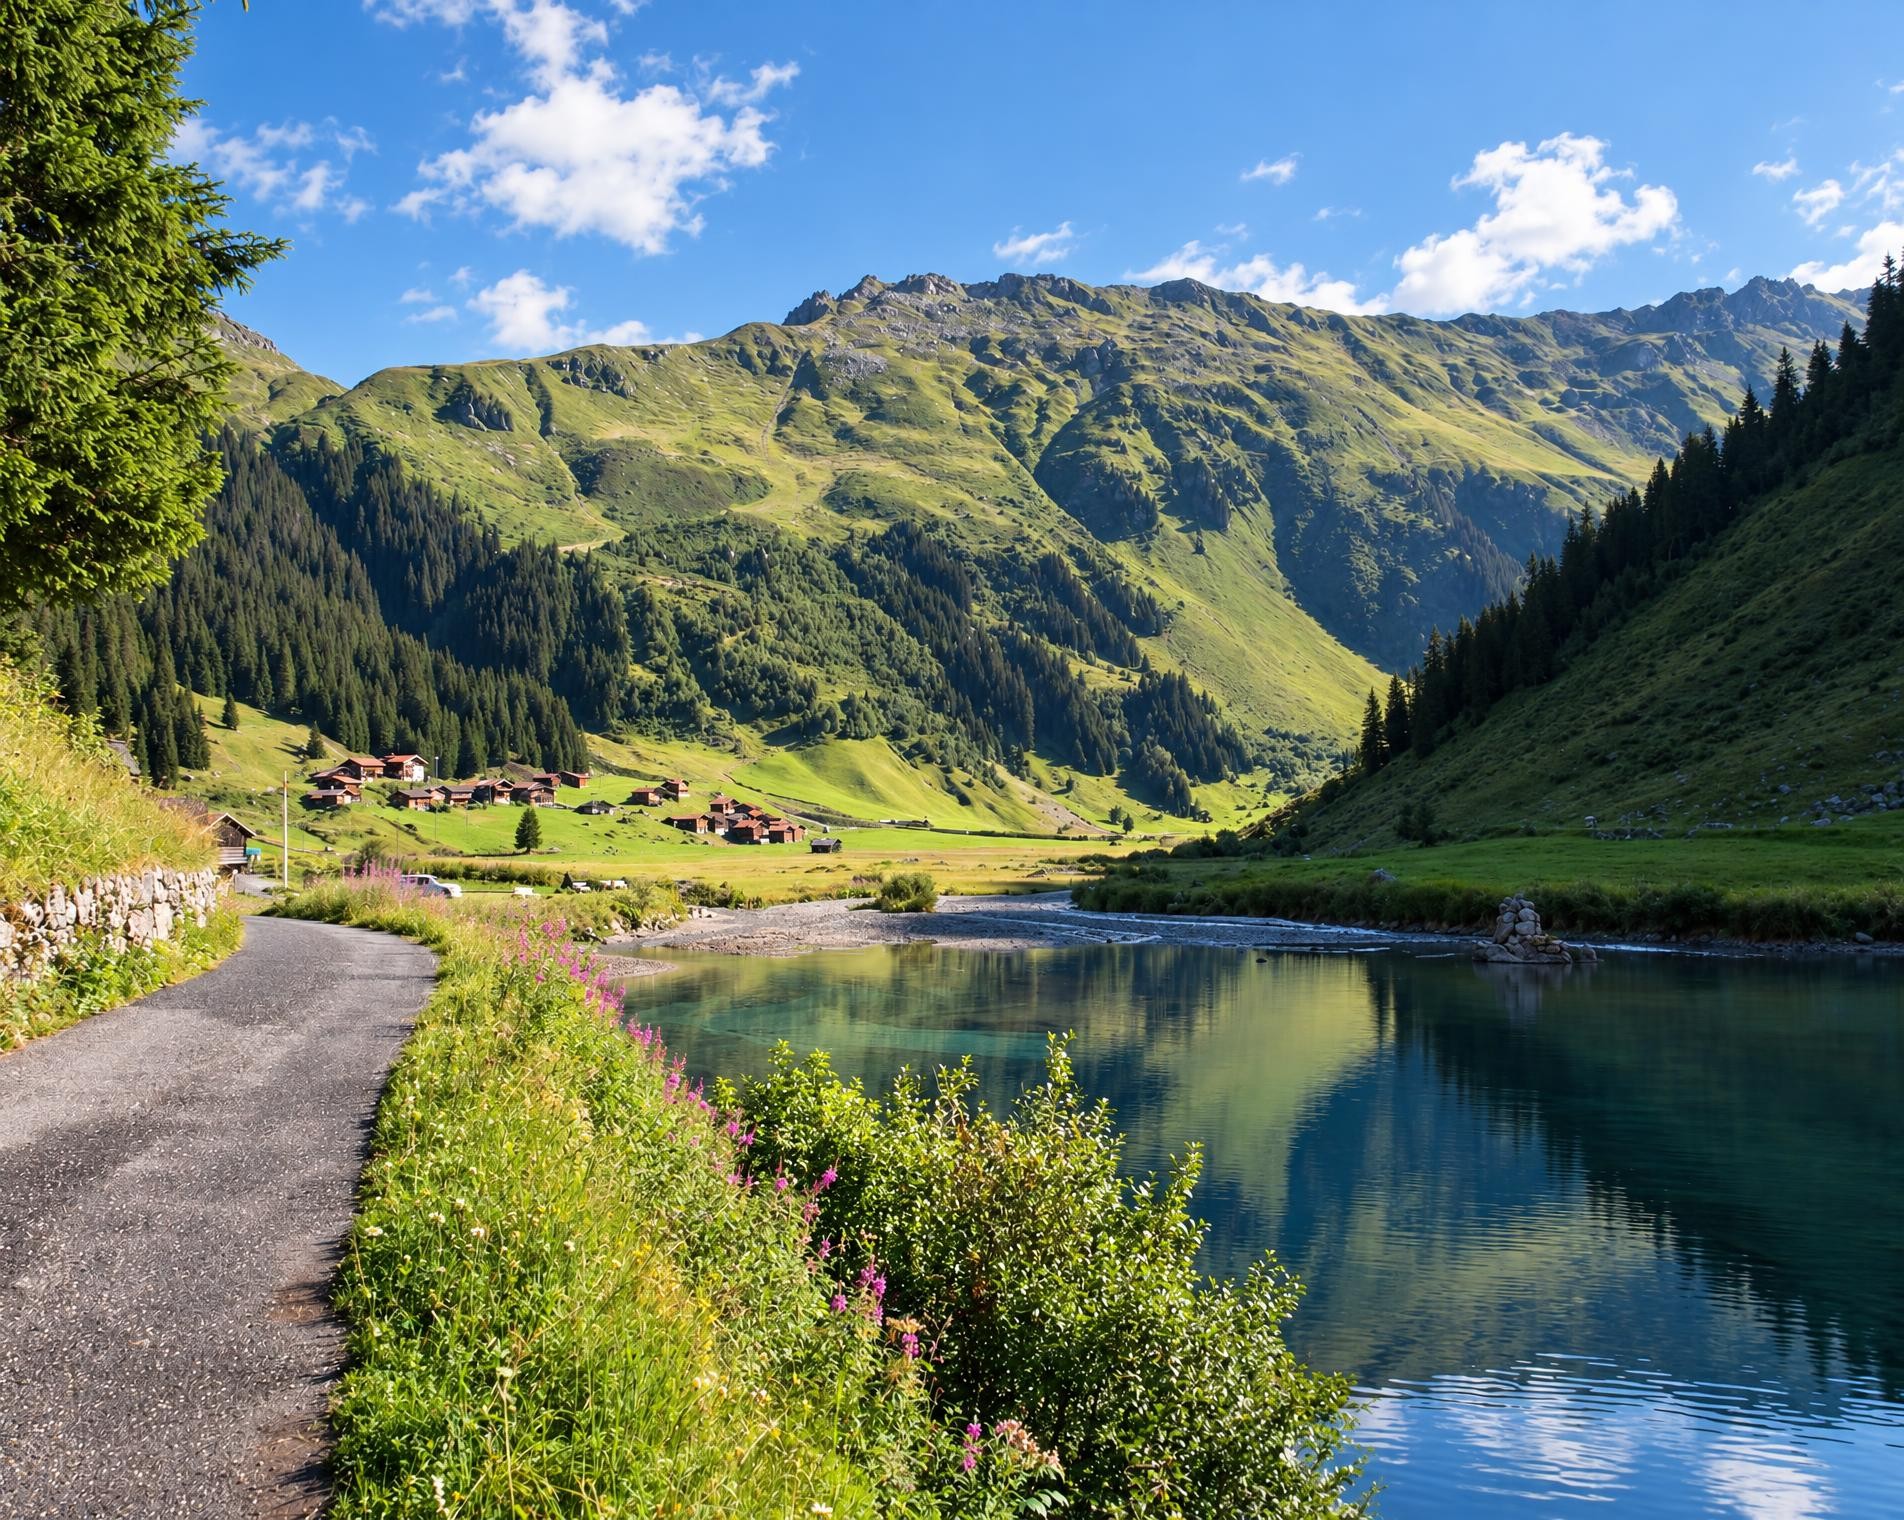
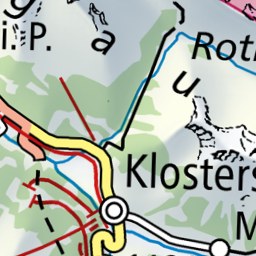
Via Rüti and Litzirüti, the route approaches the valley floor. Towards the end, it passes through the scattered settlements of St. Antönien and by the Reformed church. After around 10 km and just under three hours, the hike ends near the St. Antönien, Platz stop.
02/ Along the route
What's along the way
Where the route climbs and where it descends. Hover the profile to find the spot on the map.
03/ Conditions
Current conditions
What to know before you set off. Closures and snow are re-checked every day.
How we check: Every night we match the route against the official closures and detours from the Federal Roads Office (FEDRO). Any reported closure that touches the route shows up here.
There may be snow on this hiking trail. Bring appropriate gear and plan accordingly.
How we check: SLF only publishes its snow maps from November 1. Until then we roughly estimate the snow depth at the lowest and the highest point of the route every day from the nearest SLF measuring stations. Check the situation on site.
04/ Getting there
Getting there
From your door to the trailhead and home again, by train and bus or by car. Computed live from the timetable.
Or from
Outbound
Return
05/ Weather
Weather on the way
Forecast for the lowest and the highest point of the route.
Weather
06/ Trail & landscape
Trail & landscape
Which paths you walk on and the landscape they lead through.
Larches count as conifer forest here.
07/ Snow
Snow on the route
Snow depths, new snow and forecast. Estimates: check the situation on site before you set off.
Snow Info
08/ Export
Take the route with you
Load the track onto your GPS device, print a route sheet for the trail or send the route to your hiking group.
Share
Send the link to friends or your hiking group.
Export GPX File
For hiking apps, GPS watches and navigation devices.
Print Route Sheet
A4 with map, elevation profile, waypoints and emergency numbers.