Hike /Schweiz Mobil
Alpine Panorama Trail, Stage 16/29
MooseggMünsingen
- Distance
- 19.0 km
- Duration
- 5:00 h
- Ascent
- 440 m
- Descent
- 860 m
- Difficulty
- Easy
- Fitness
- Hard
- Route type
- One way
- Season
- April - October
01/ Overview
The route
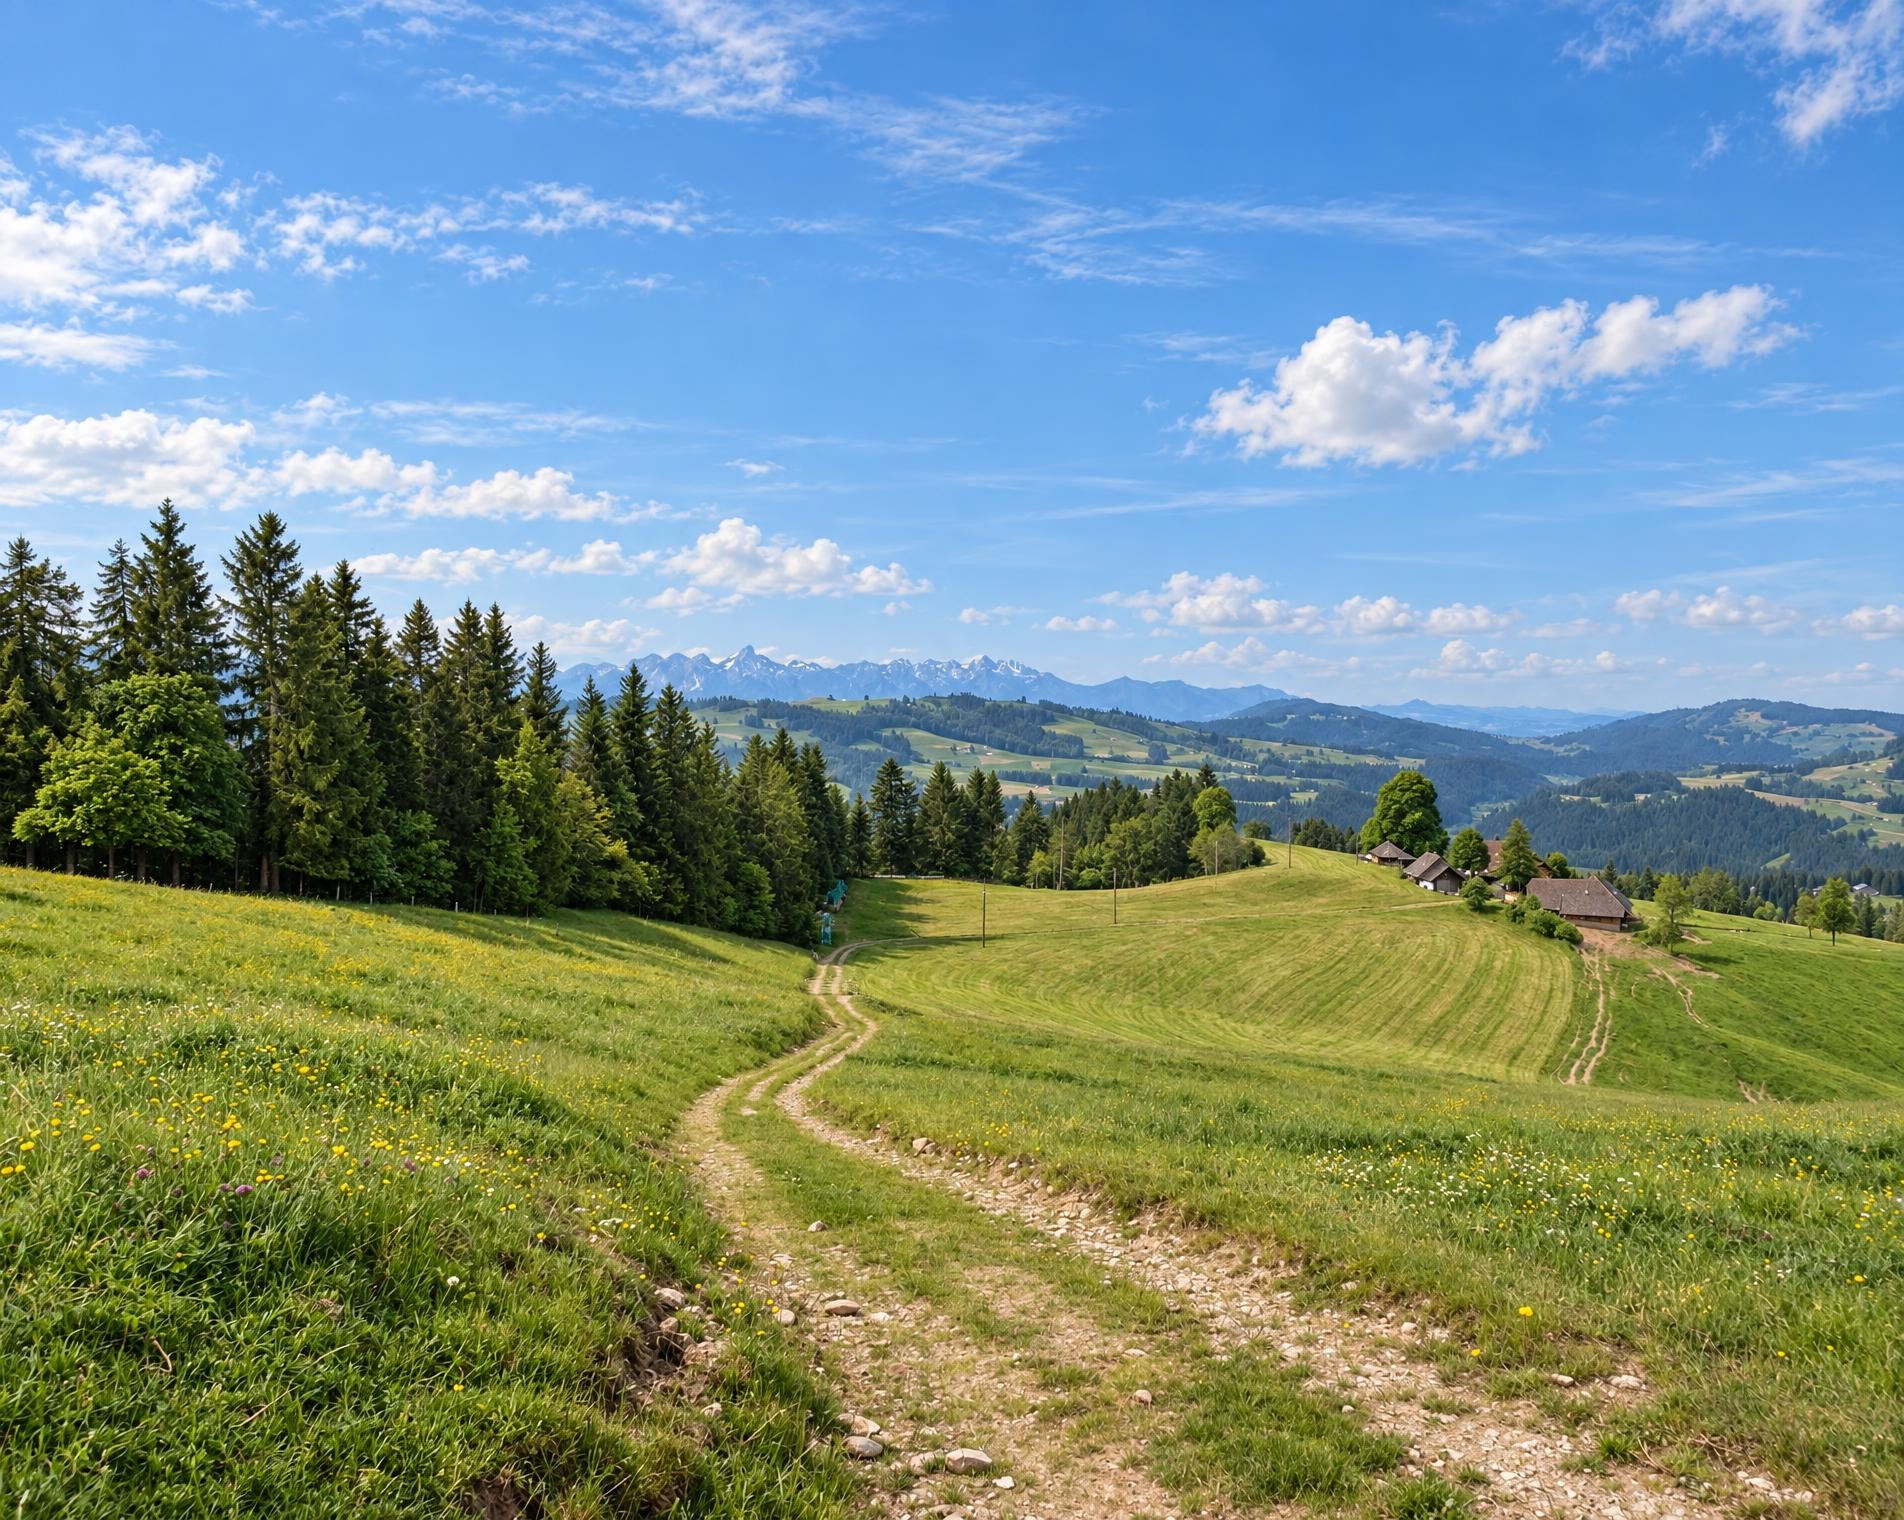
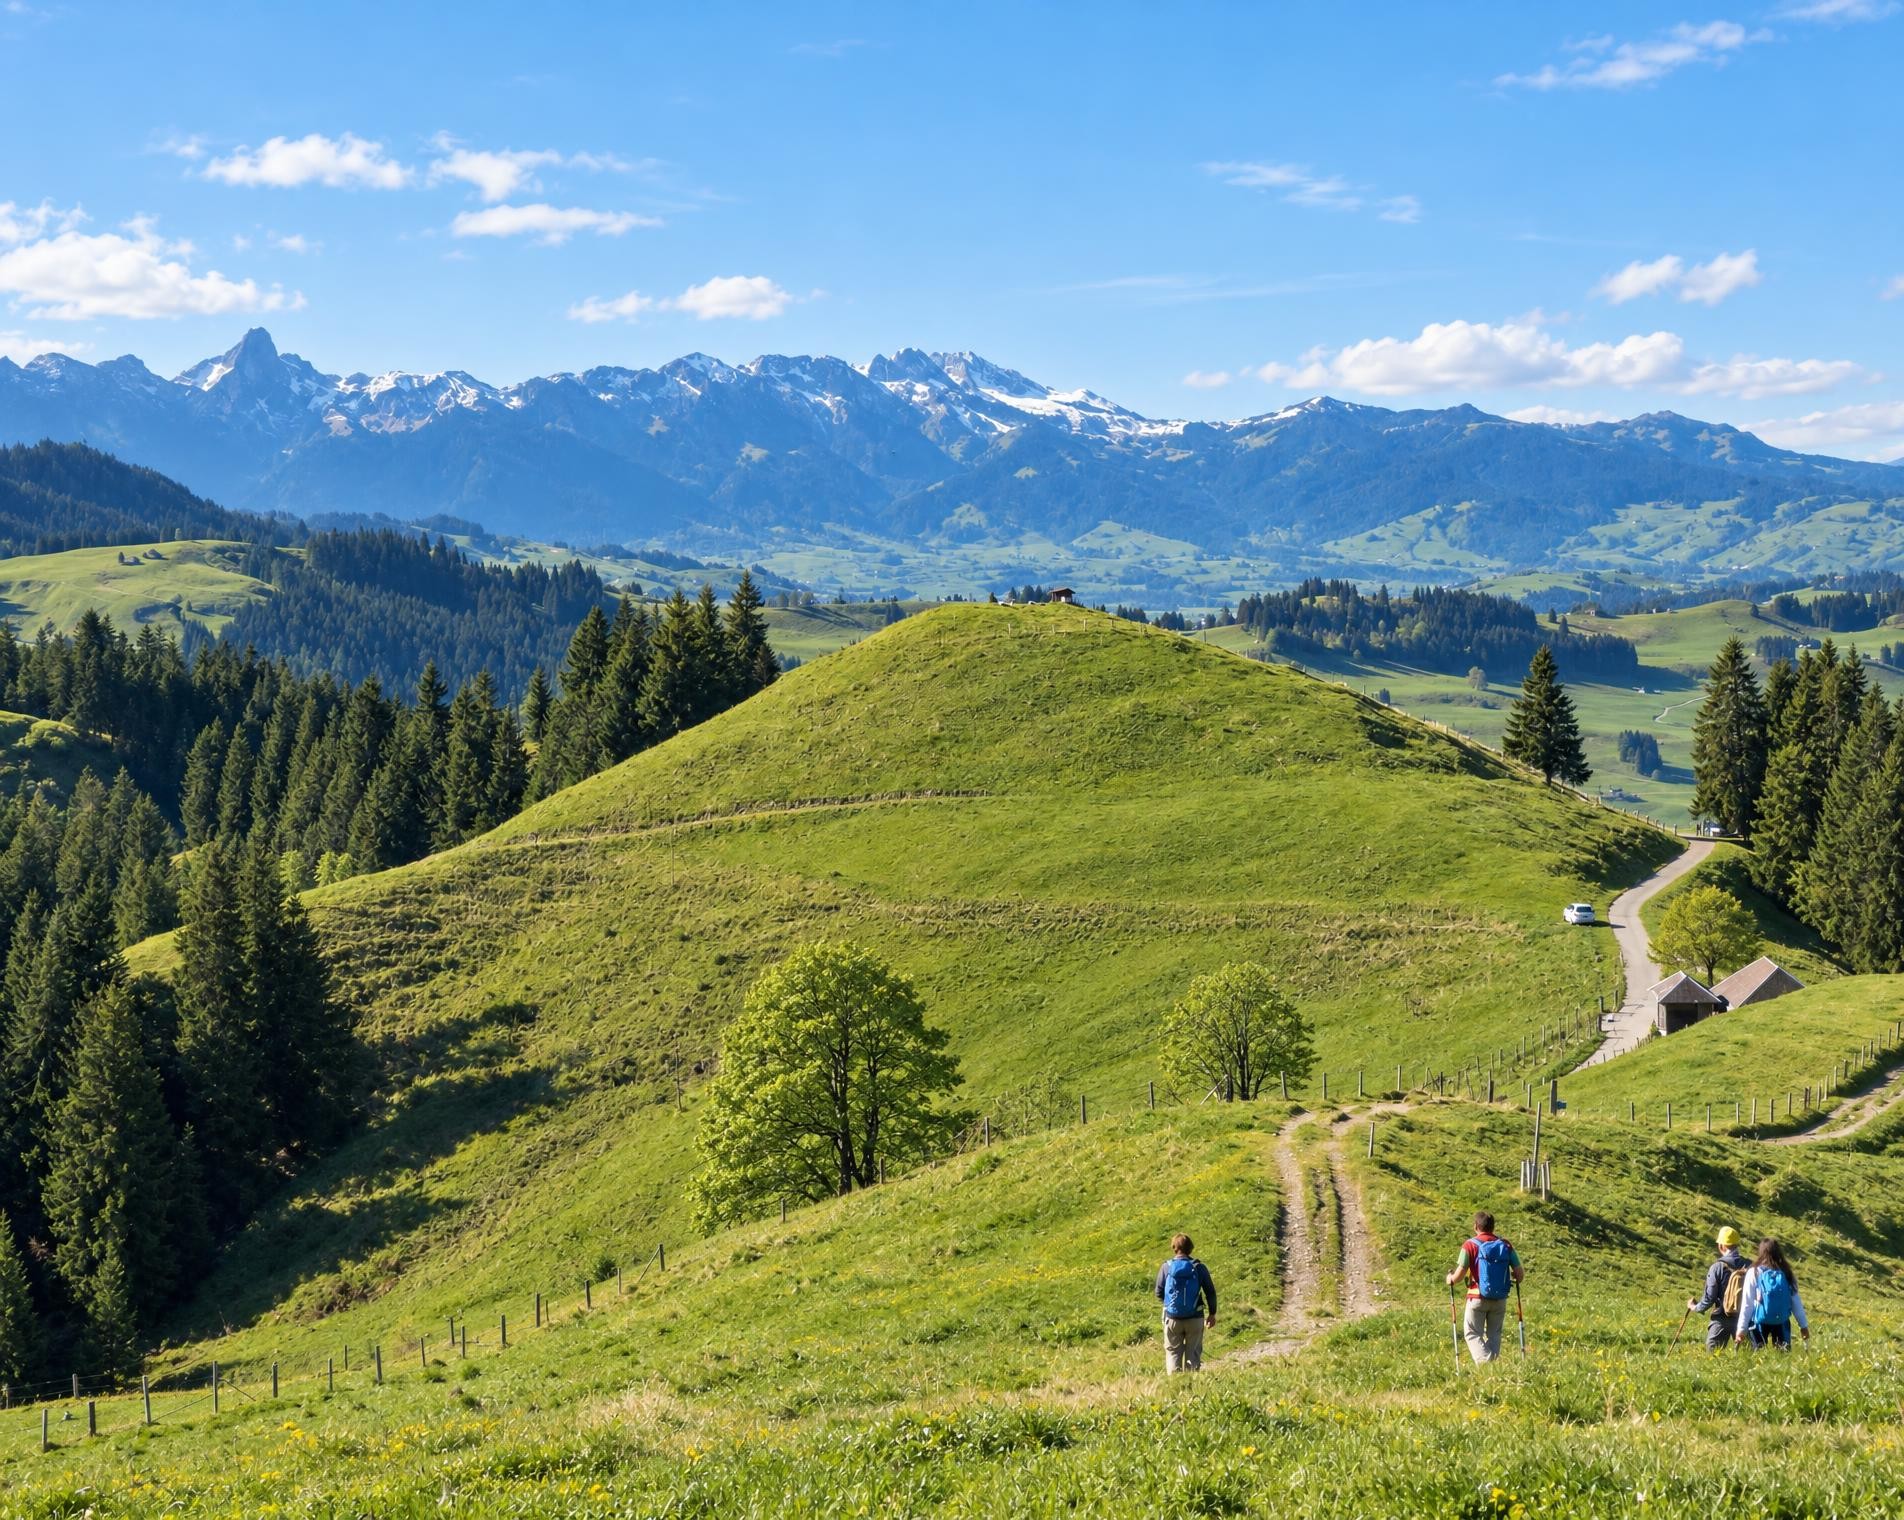
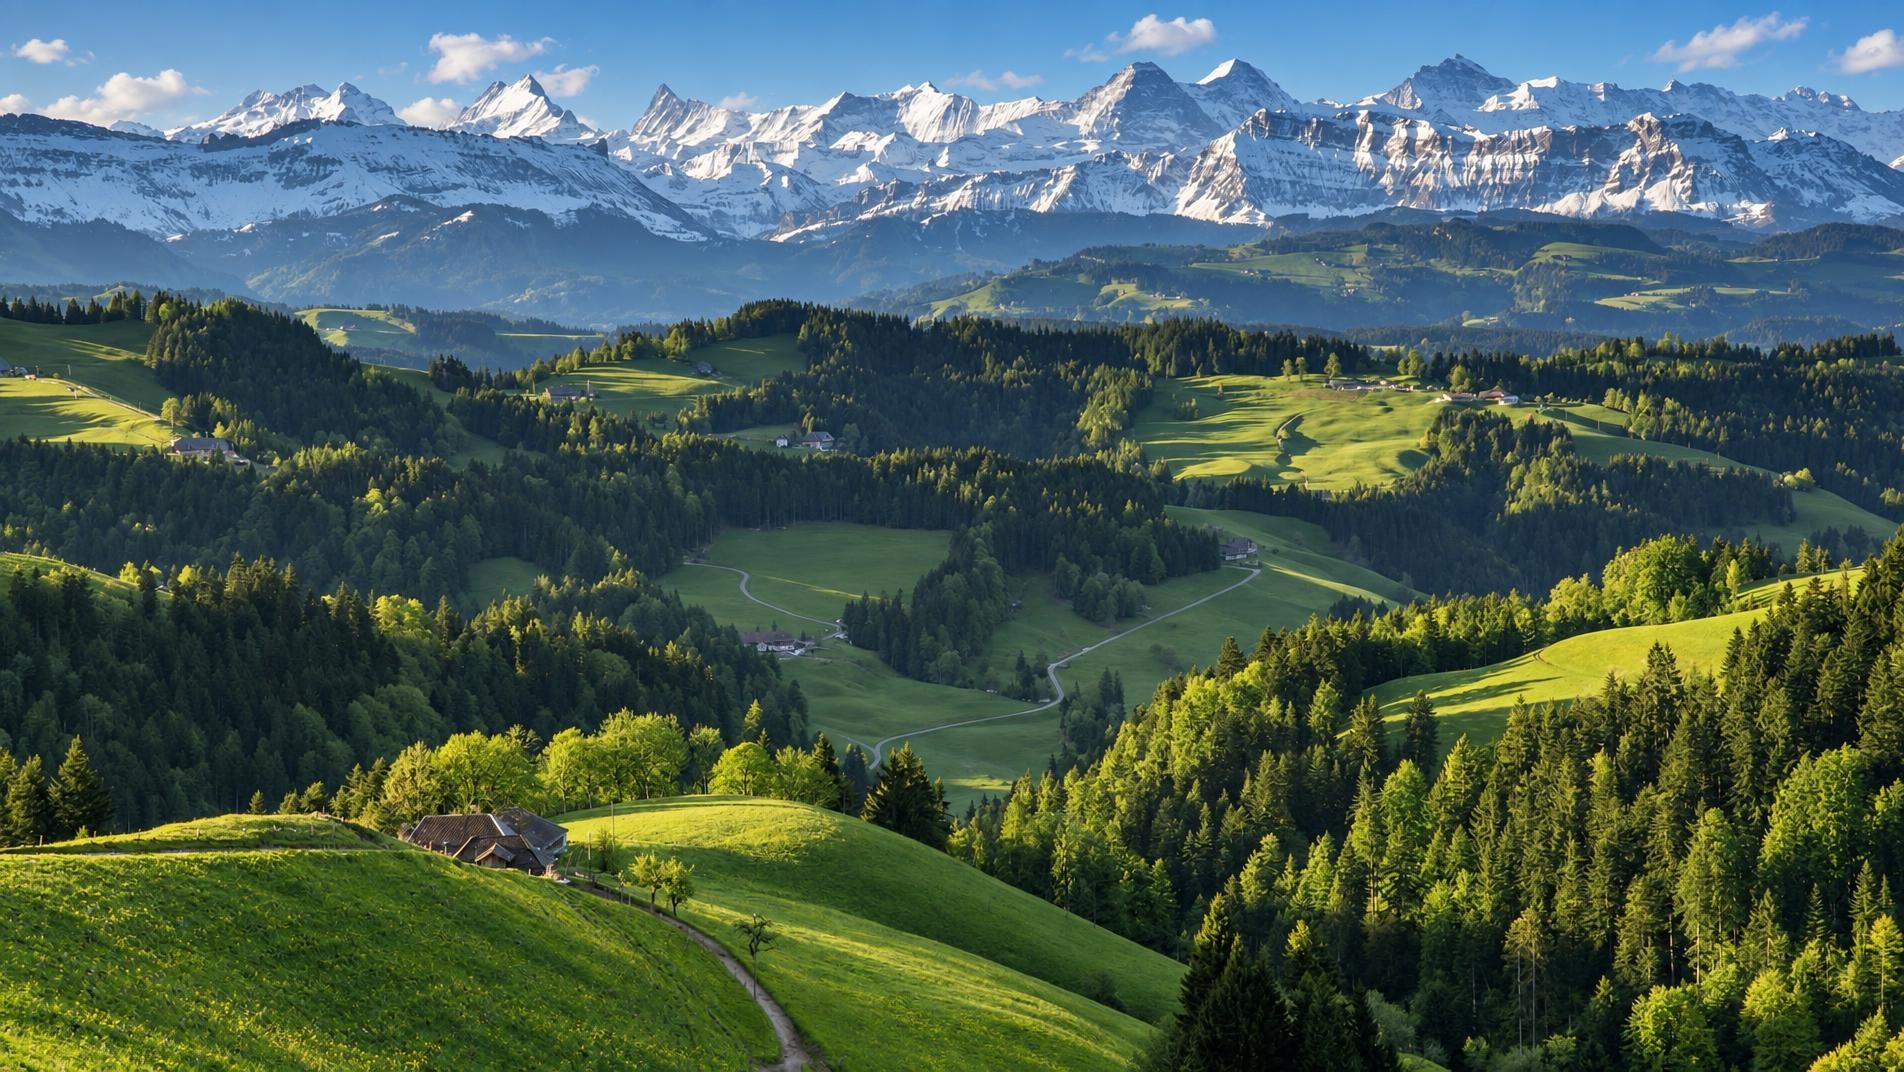
The villages get larger, the hills rounder and lower, but the views remain. After a short climb to the Blasenfluh, the rest of the hike is almost merely a pleasant downhill stroll to the wide Aaretal valley at Münsingen.
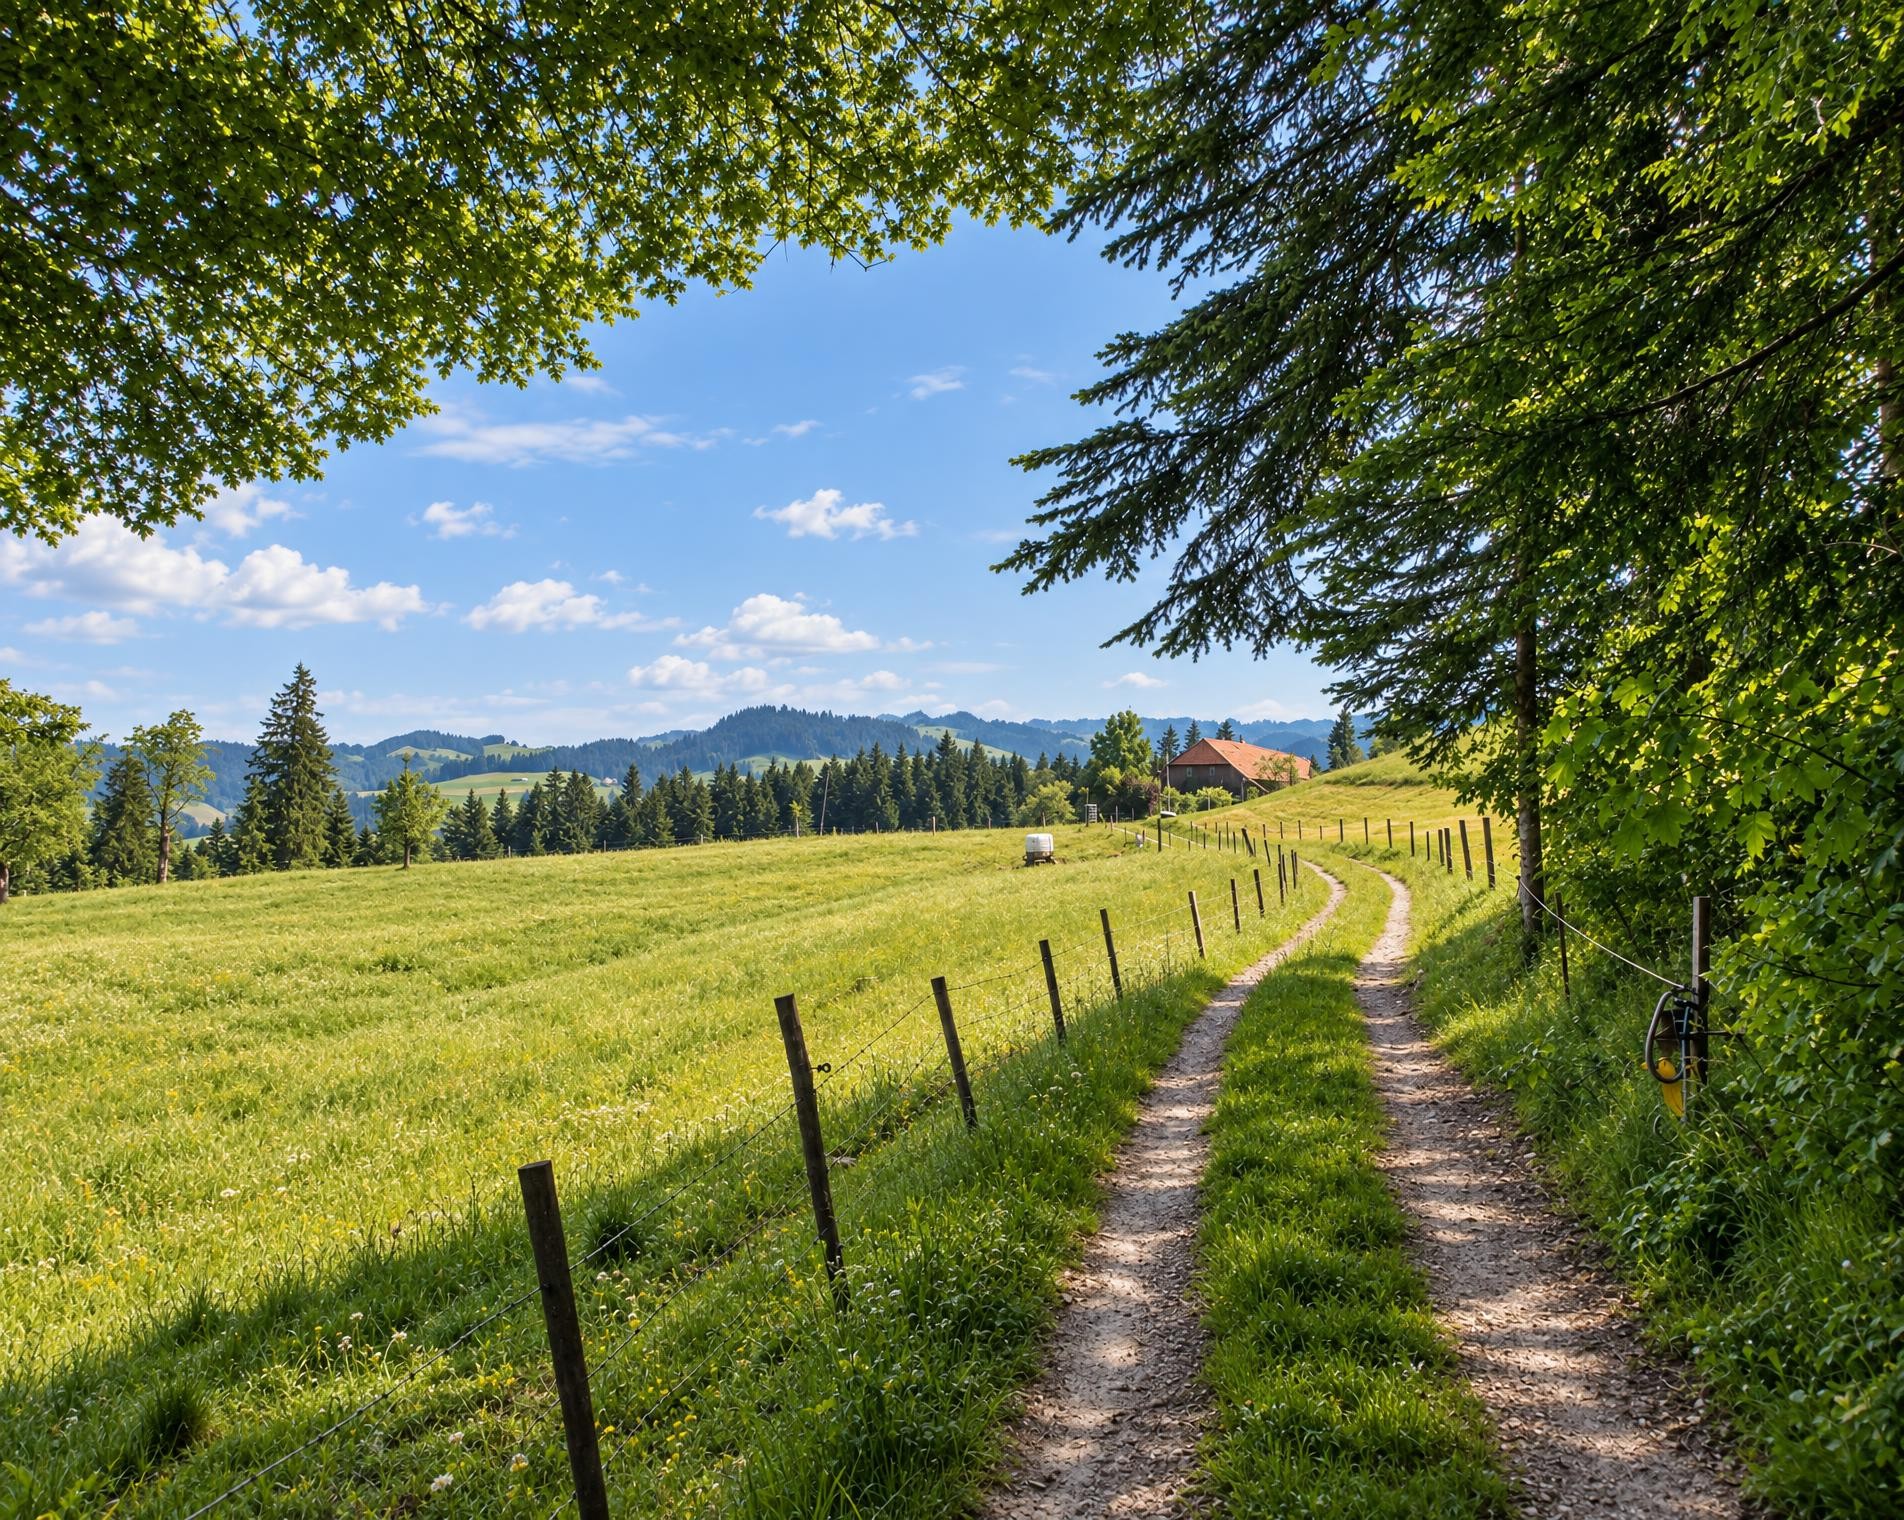
The approximately 19-kilometre hike begins at the «Moosegg, Hotel» stop. The yellow-marked hiking trail initially climbs through open countryside and woodland to Blasenfluh. After just over two kilometres, the highest point is reached at around 1,110 m. This wooded summit is also the highest elevation in the Blasenflue hills.
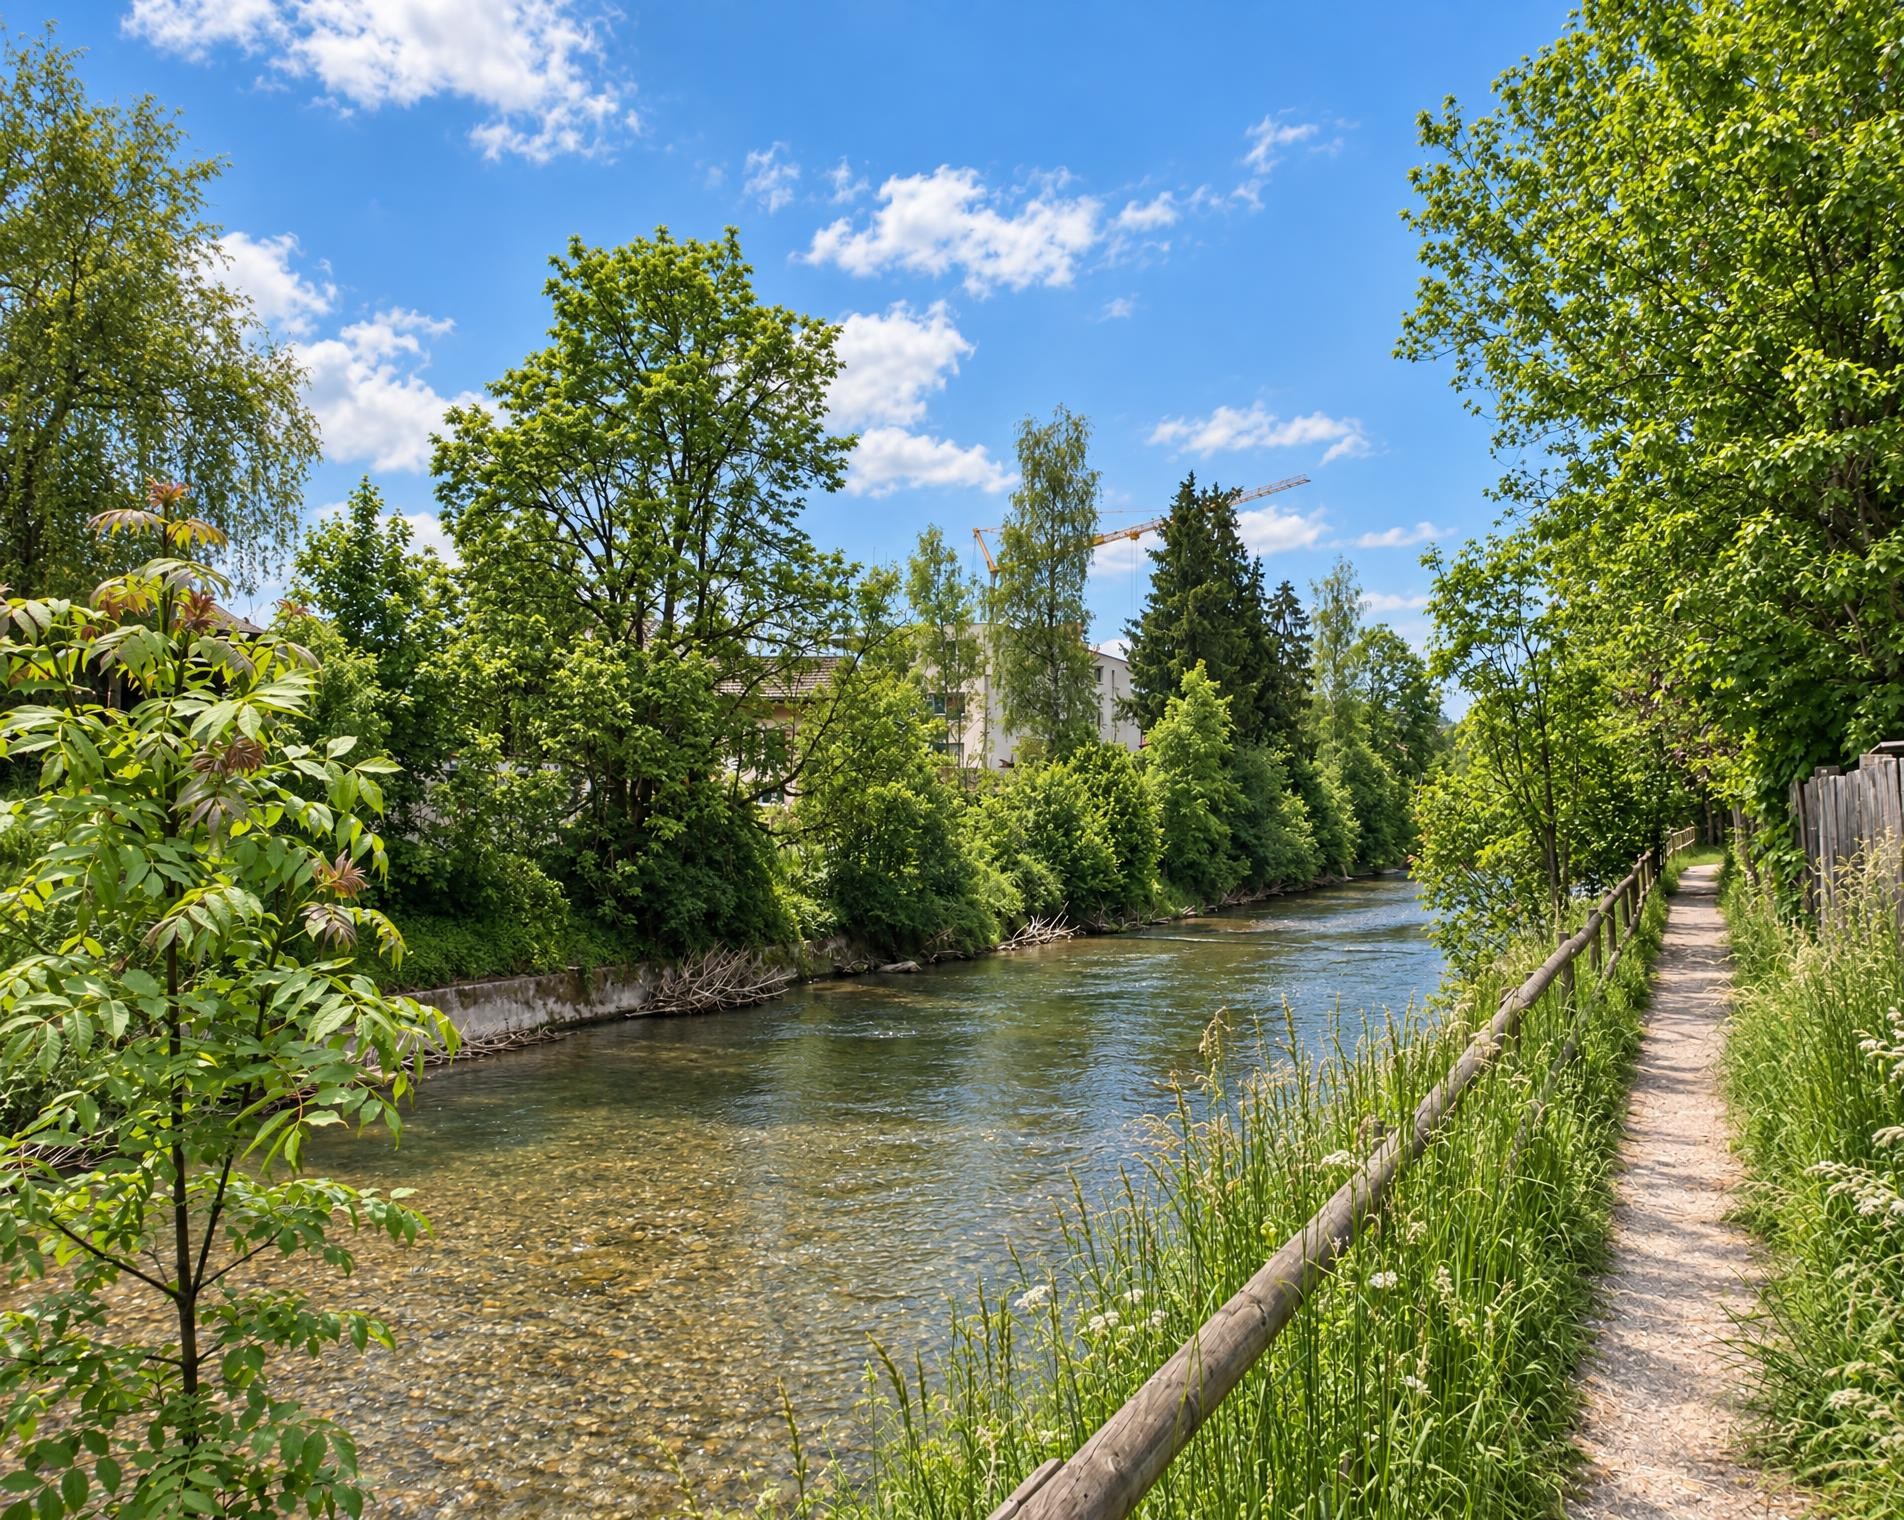
The route then passes through a landscape of pastures, patches of woodland and scattered settlements. It continues in a steady succession of ascents and descents via Blasen and Bühl to Bauplatz, where a fire pit directly on the route offers a place to take a break. Grosshöchstetten marks roughly the halfway point of the approximately five-hour hike. Beyond it, the surroundings become more rural again; Ballenbühl offers another viewpoint before the trail continues through Dietemooswald and Tennliwald.
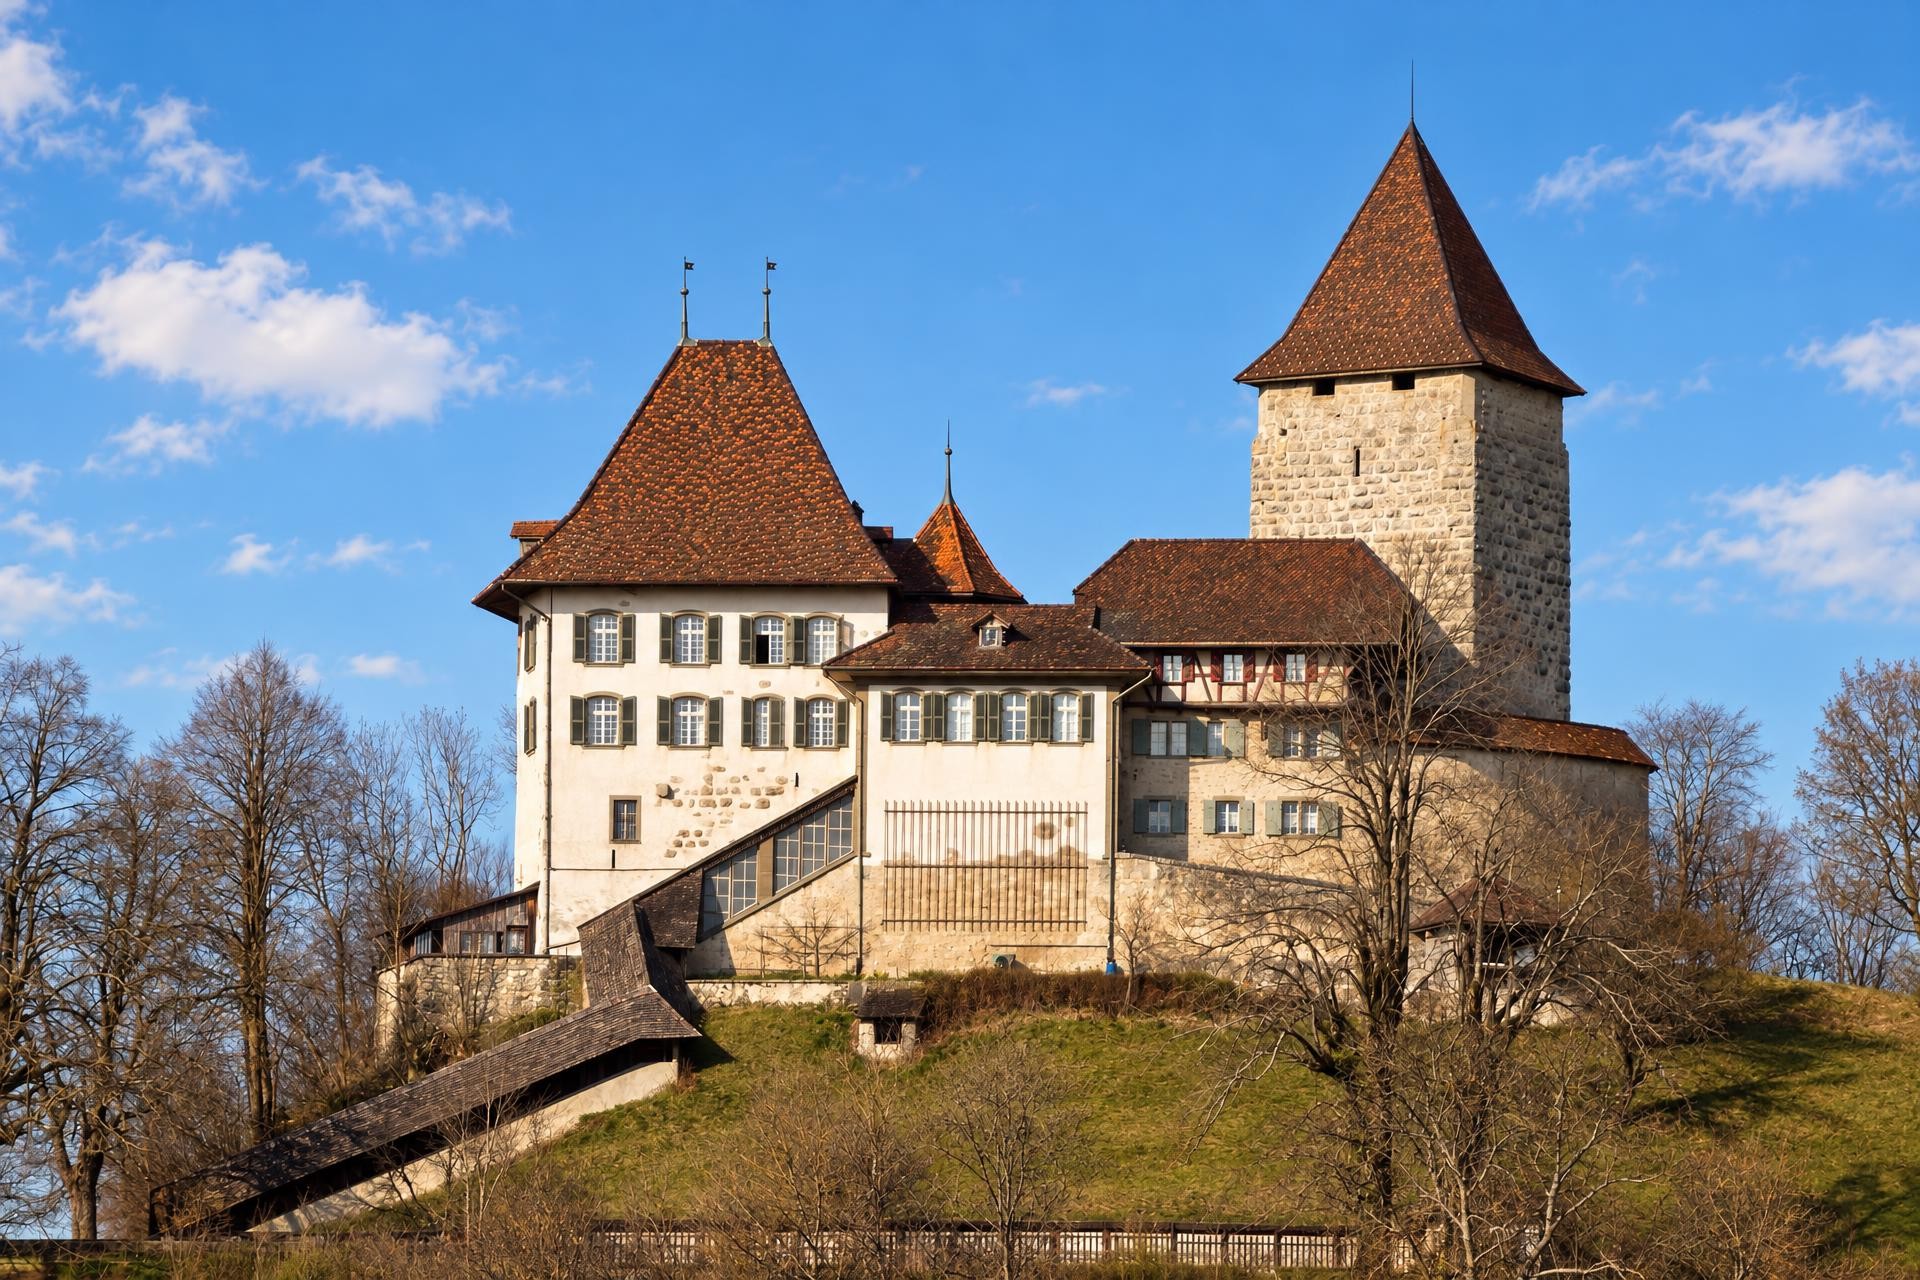
Towards the end, the long descent to Münsingen begins. In the village, the route passes the Reformed church dating from the early 18th century and Münsingen Castle from the 16th century. Shortly afterwards, the hike ends near the Münsingen stop.
02/ Along the route
What's along the way
Where the route climbs and where it descends. Hover the profile to find the spot on the map.
03/ Conditions
Current conditions
What to know before you set off. Closures and snow are re-checked every day.
How we check: Every night we match the route against the official closures and detours from the Federal Roads Office (FEDRO). Any reported closure that touches the route shows up here.
How we check: We look up a live public transport connection from your starting point to the stop closest to the trailhead. If it ends further away, the nearest stop may be a cable car or bus that isn't running right now.
How we check: Snow depth estimated daily at the lowest and the highest point of the route. Estimates: check the situation on site.
04/ Getting there
Getting there
From your door to the trailhead and home again, by train and bus or by car. Computed live from the timetable.
Or from
Outbound
Return
05/ Weather
Weather on the way
Forecast for the lowest and the highest point of the route.
Weather
06/ Trail & landscape
Trail & landscape
Which paths you walk on and the landscape they lead through.
07/ Snow
Snow on the route
Snow depths, new snow and forecast. Estimates: check the situation on site before you set off.
Snow Info
Comparative snow depth is only available from November 1 to June 30.
08/ Export
Take the route with you
Load the track onto your GPS device, print a route sheet for the trail or send the route to your hiking group.
Share
Send the link to friends or your hiking group.
Export GPX File
For hiking apps, GPS watches and navigation devices.
Print Route Sheet
A4 with map, elevation profile, waypoints and emergency numbers.