Hike /Schweiz Mobil
Lötschberg-Panoramaweg, Stage 1/4
KientalKandersteg
- Distance
- 20.0 km
- Duration
- 6:35 h
- Ascent
- 1150 m
- Descent
- 950 m
- Difficulty
- Moderate
- Fitness
- Hard
- Route type
- One way
- Season
- May - October
01/ Overview
The route
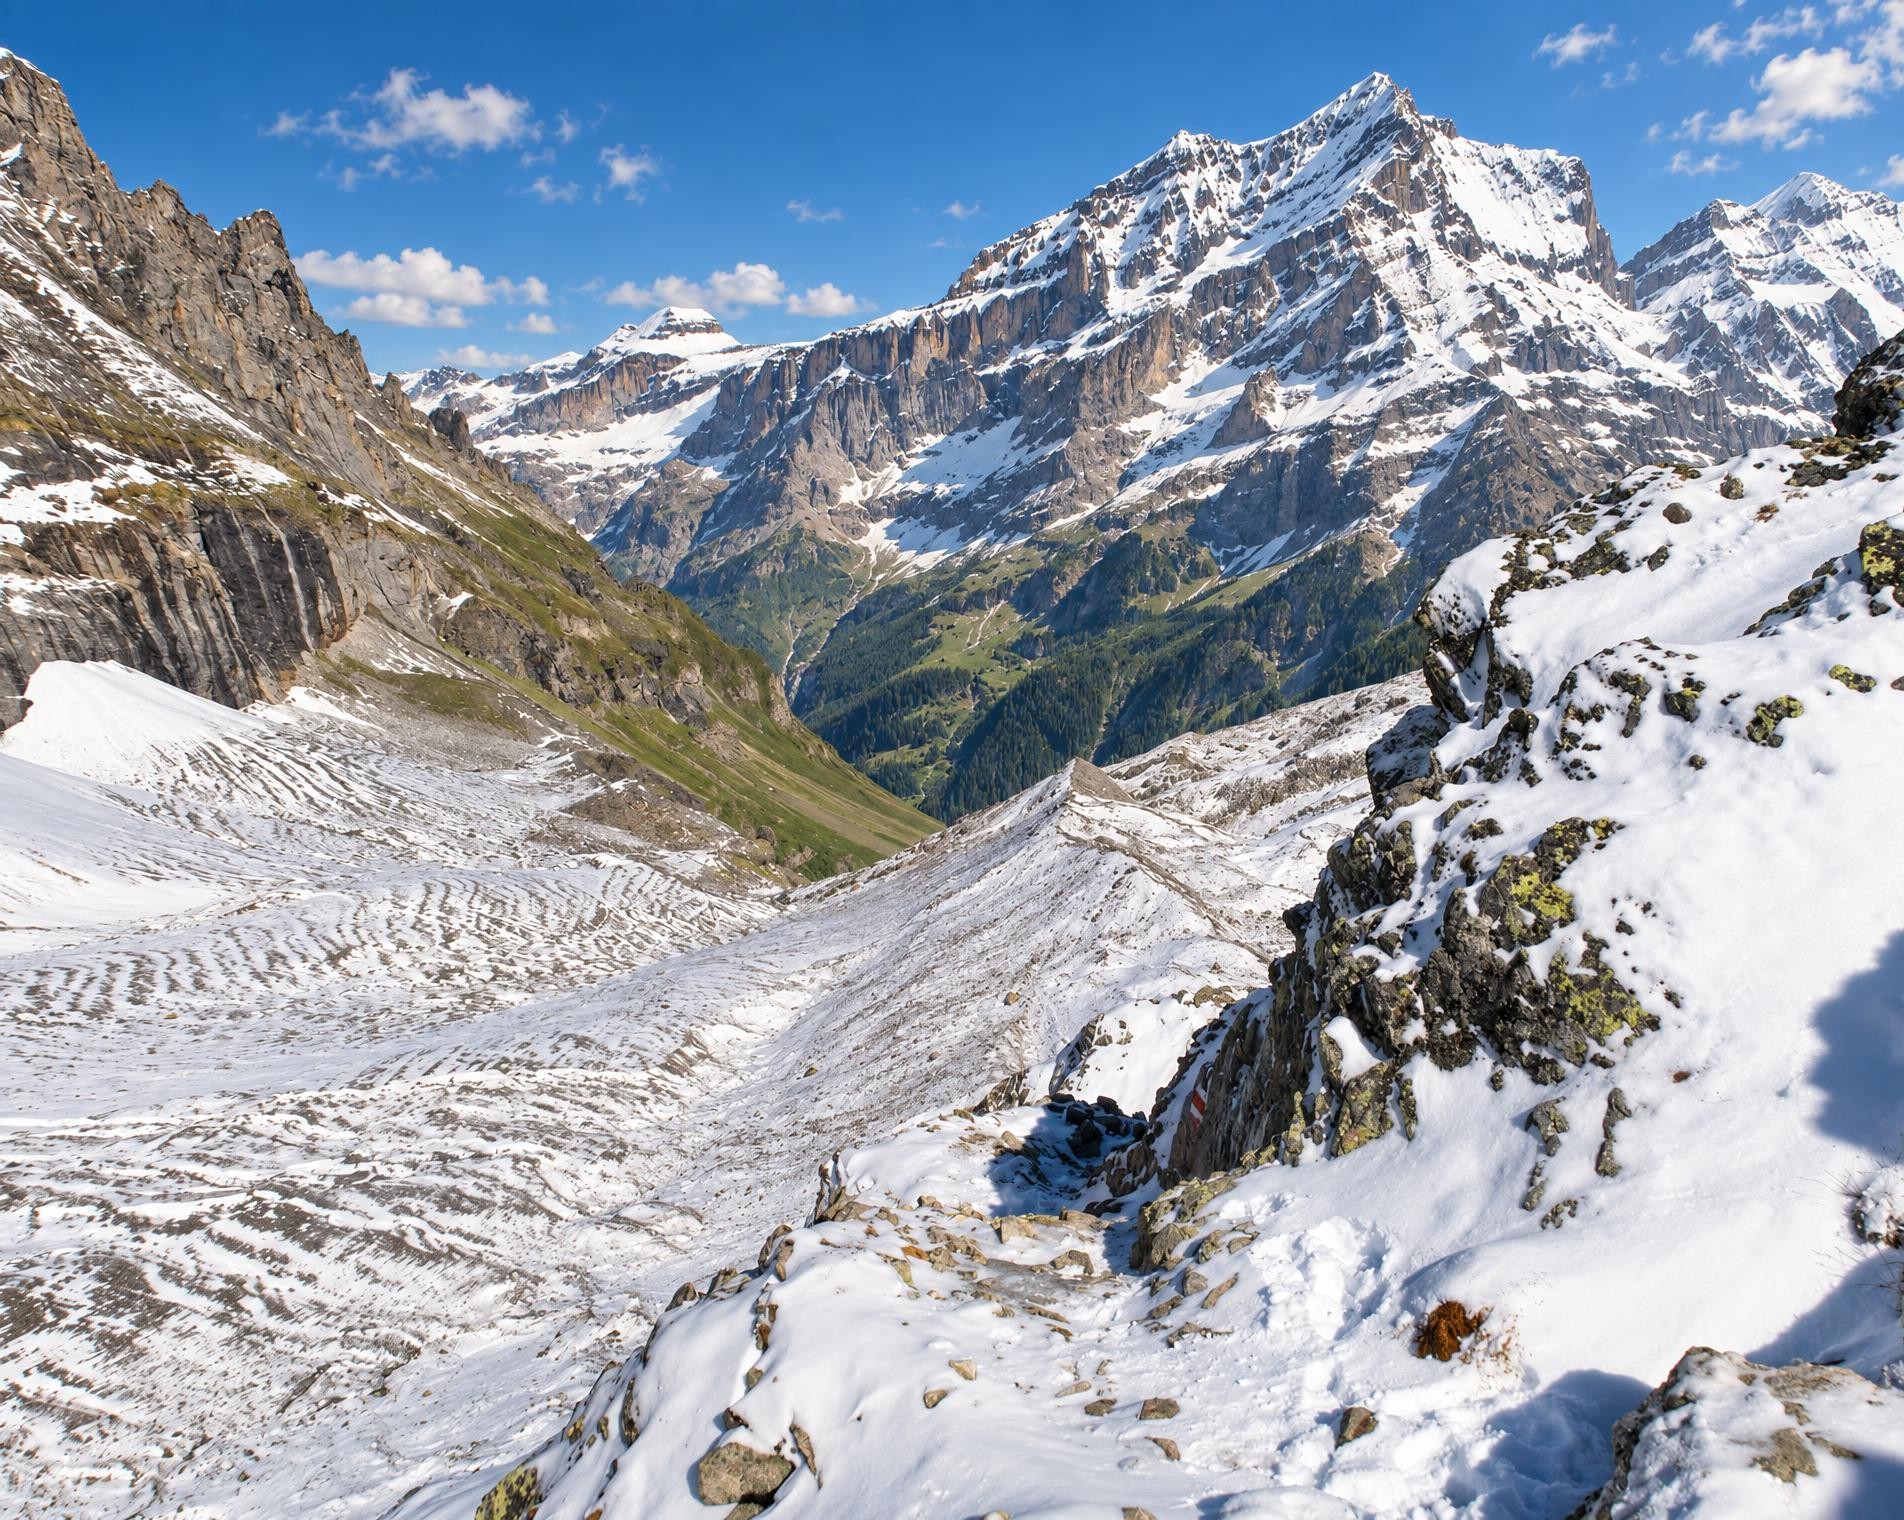
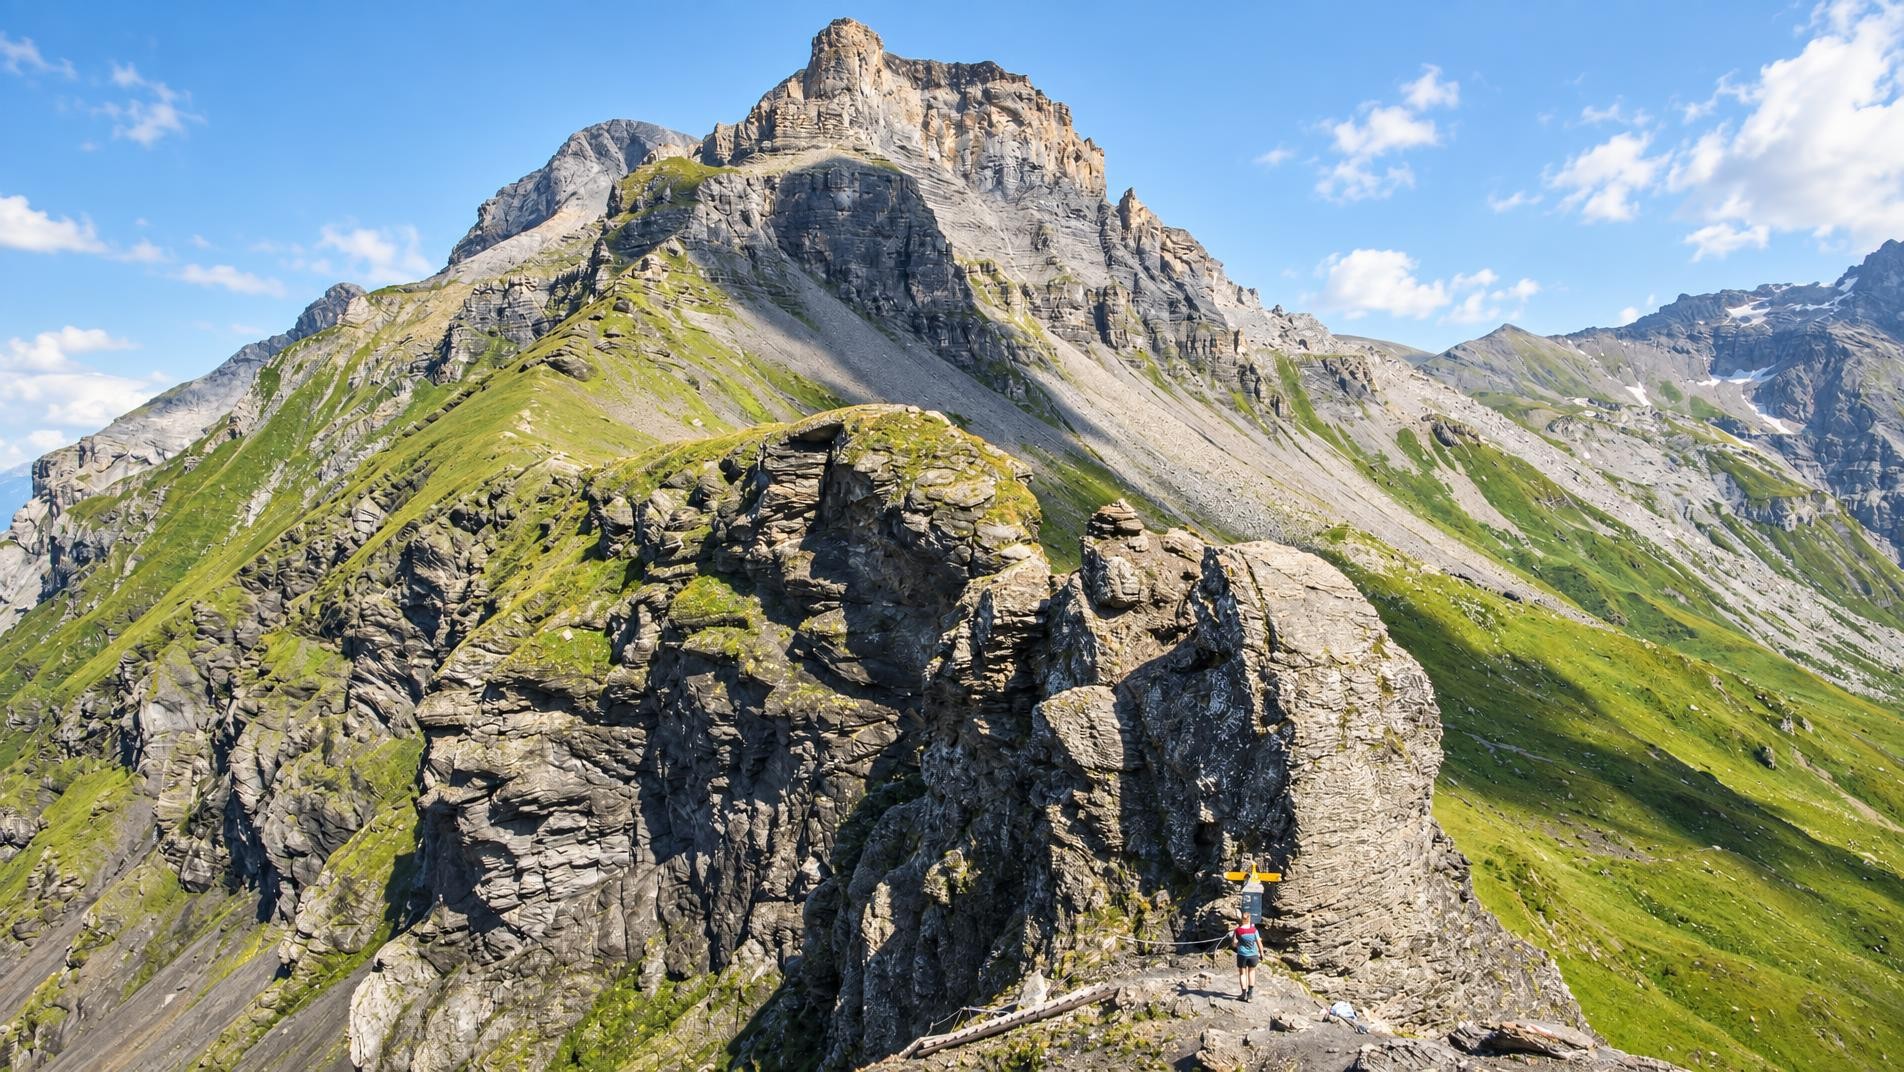
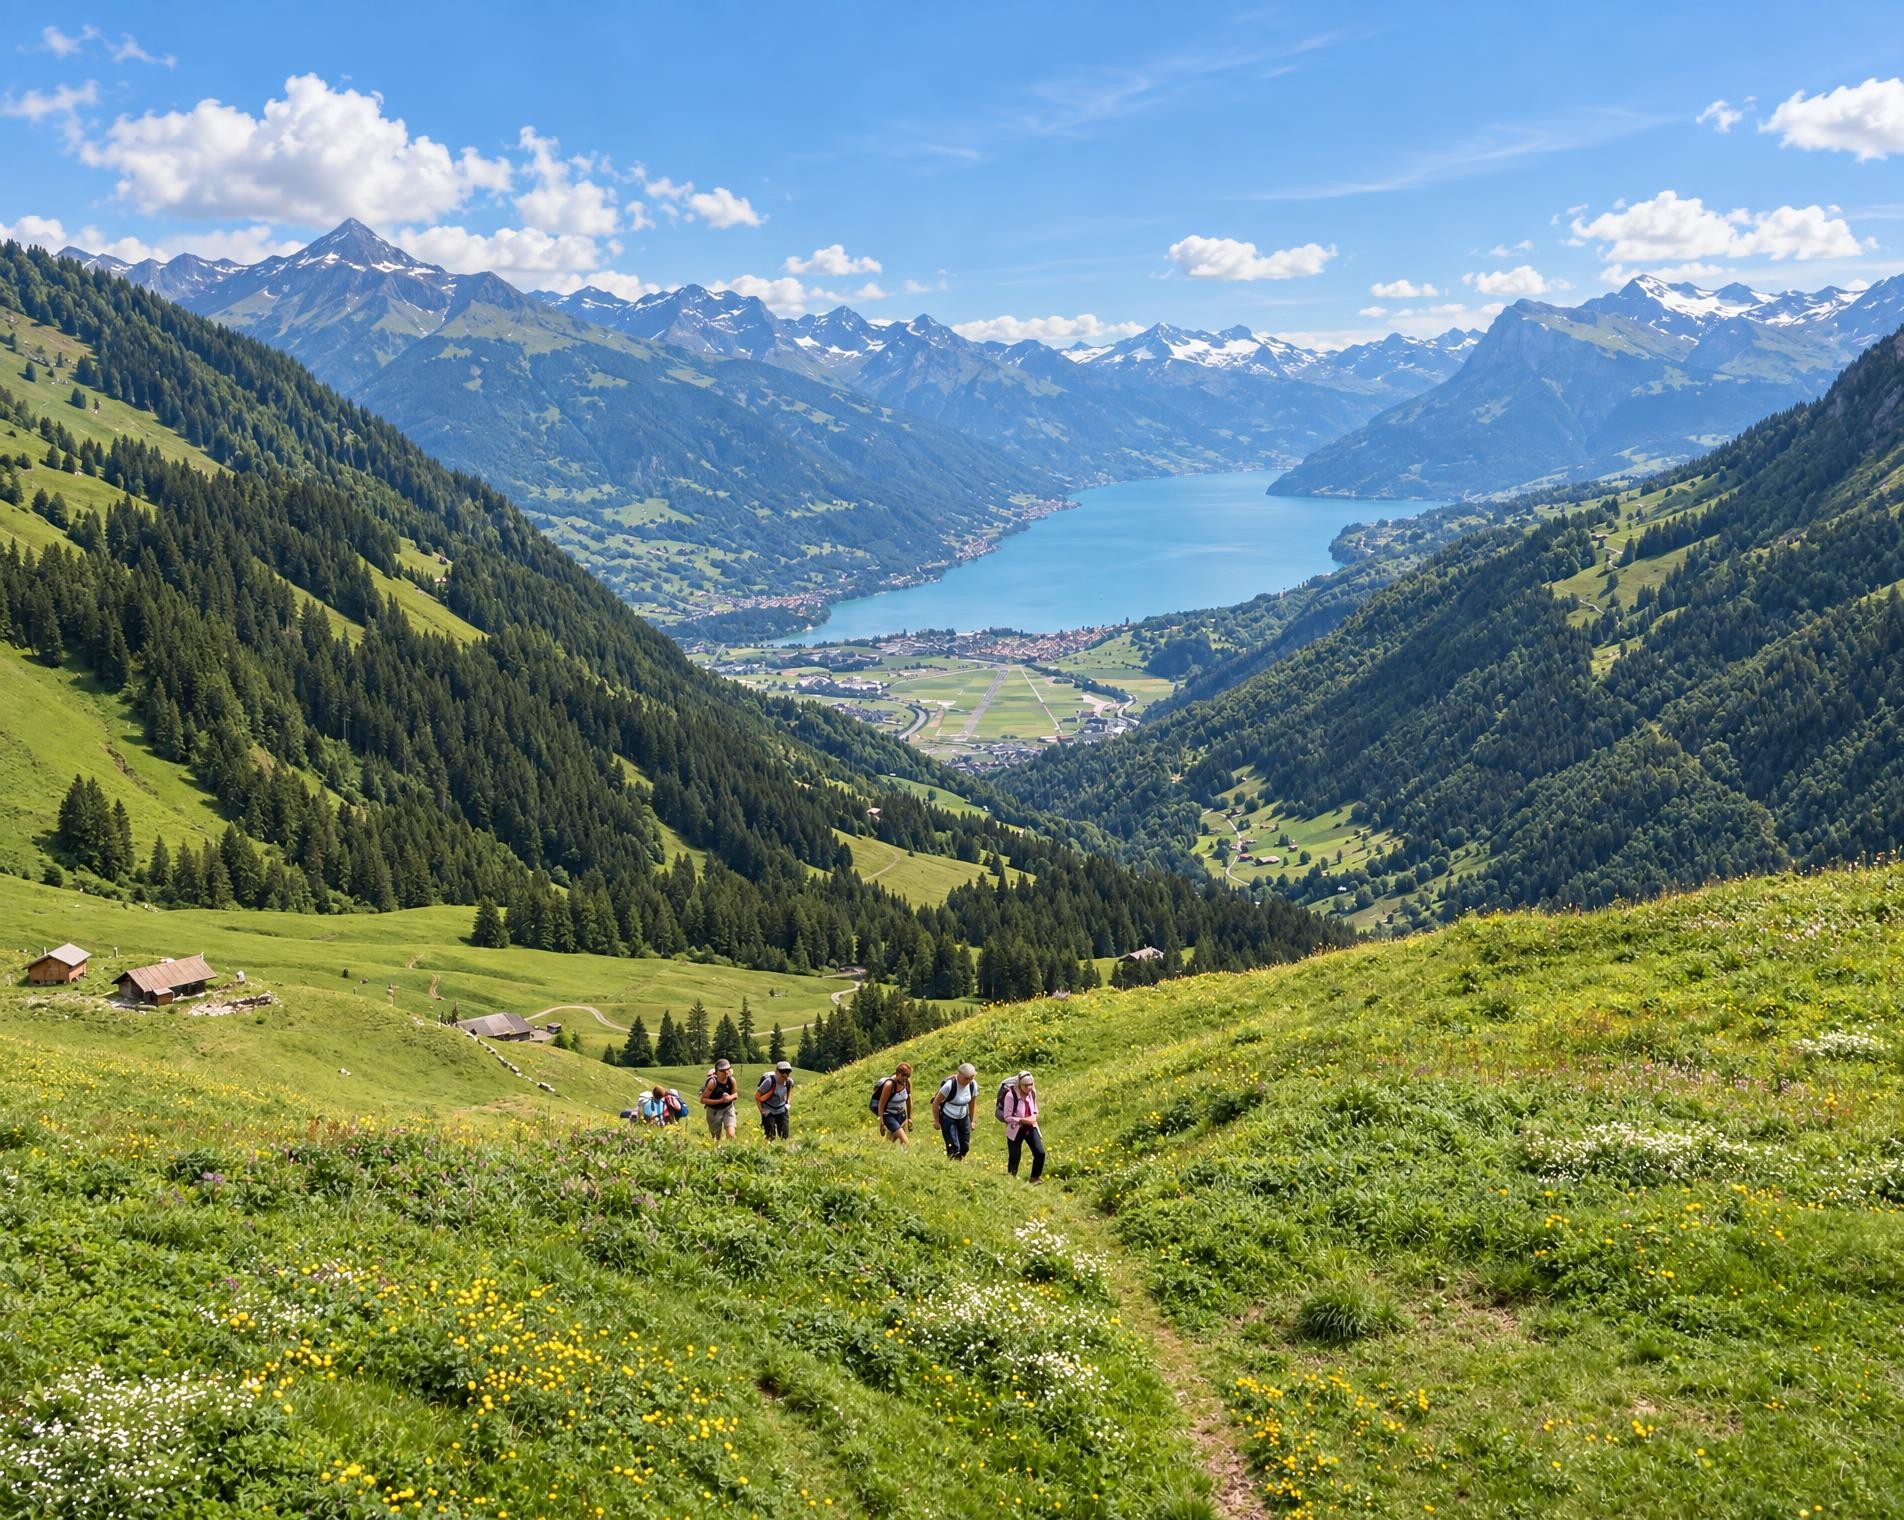
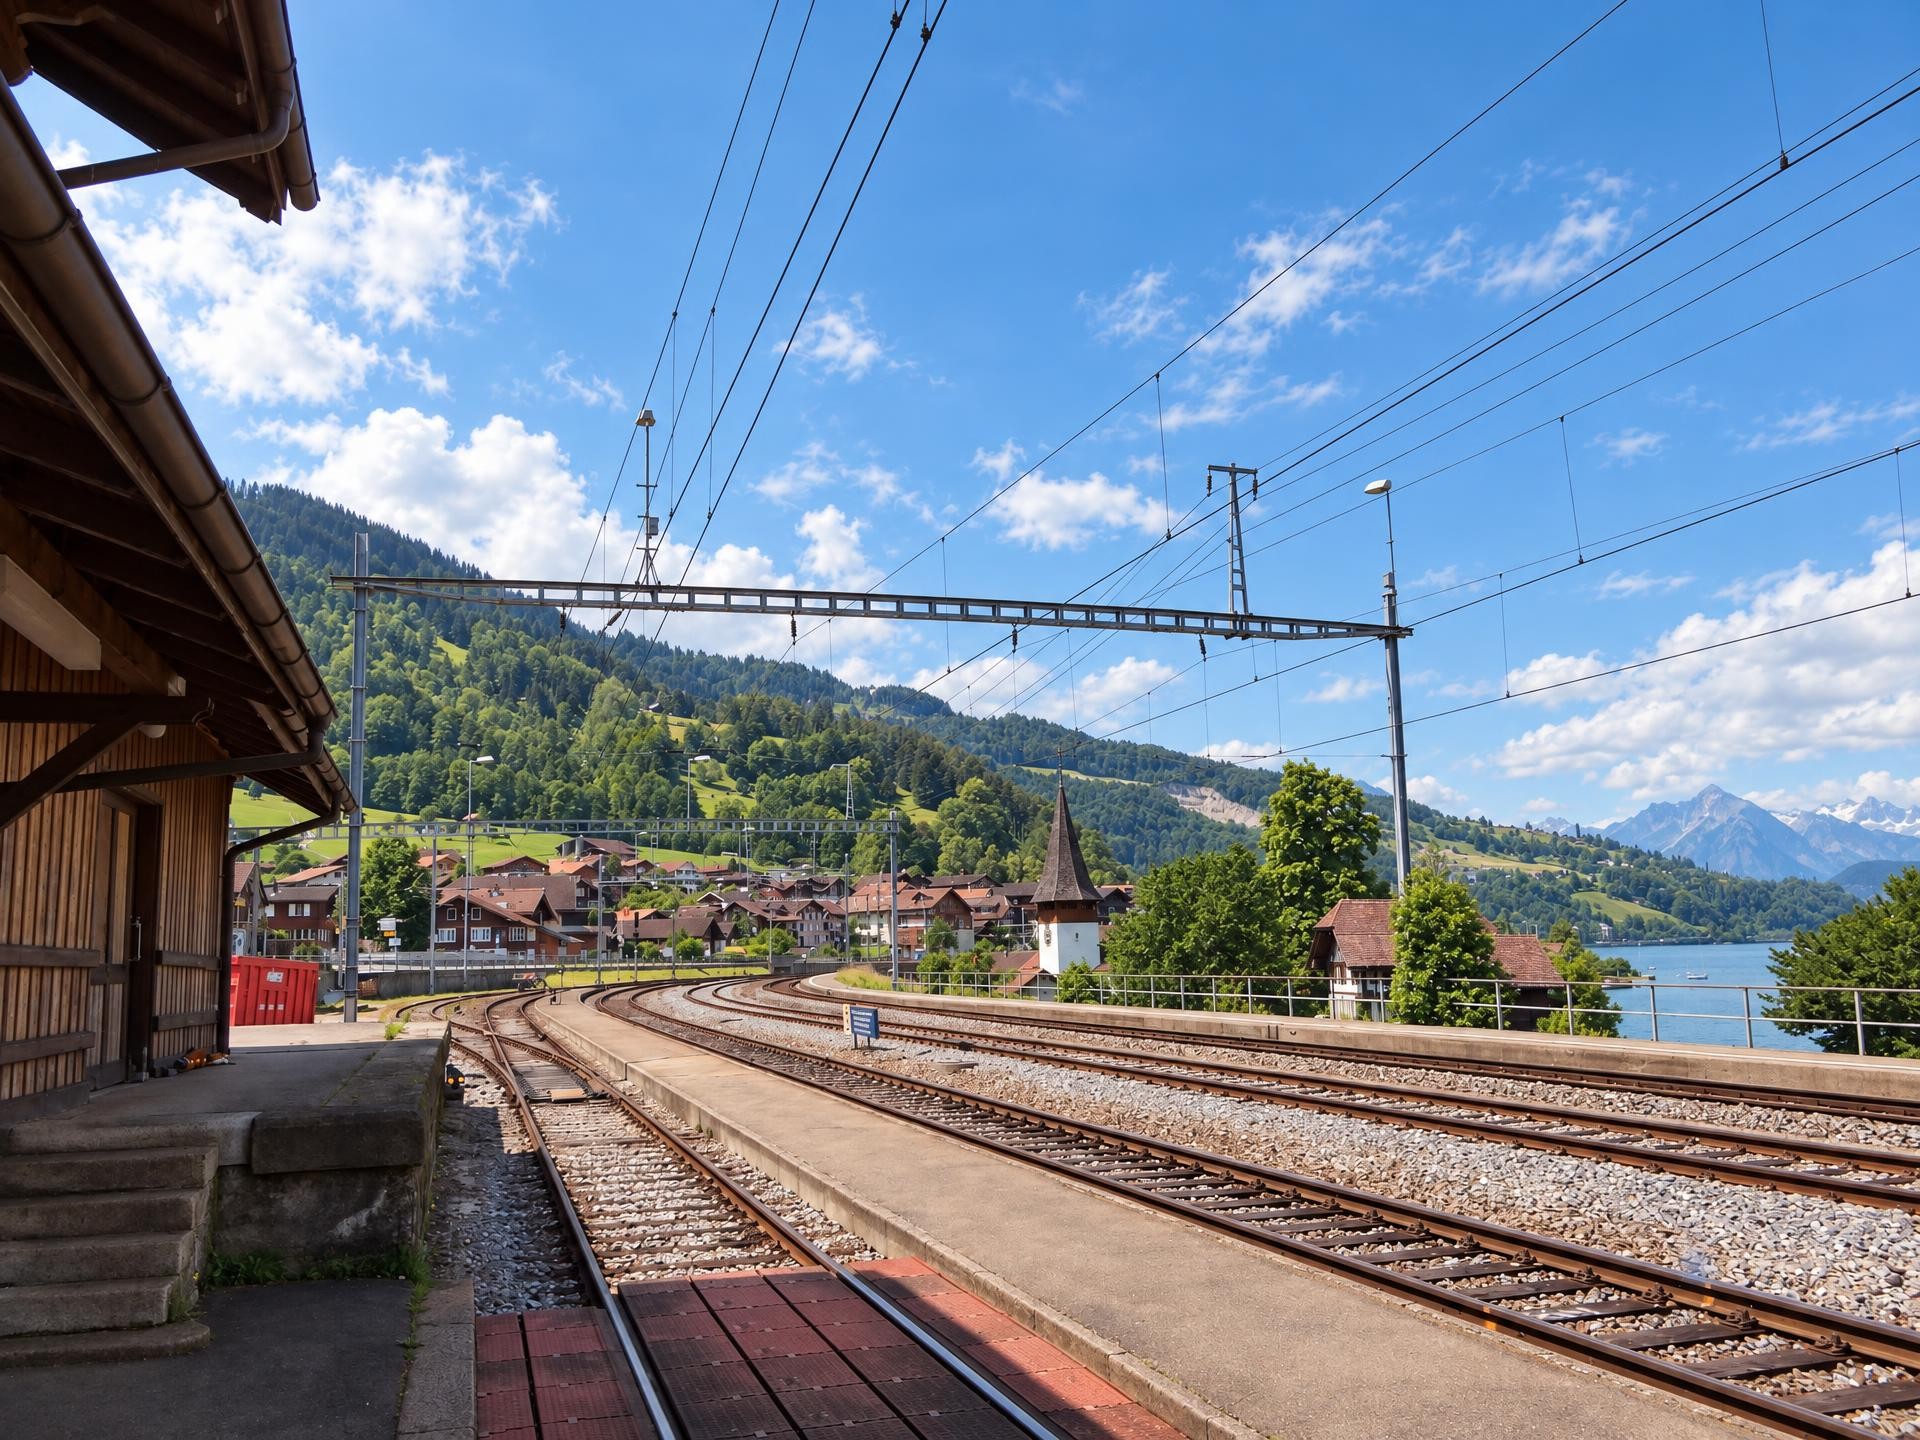
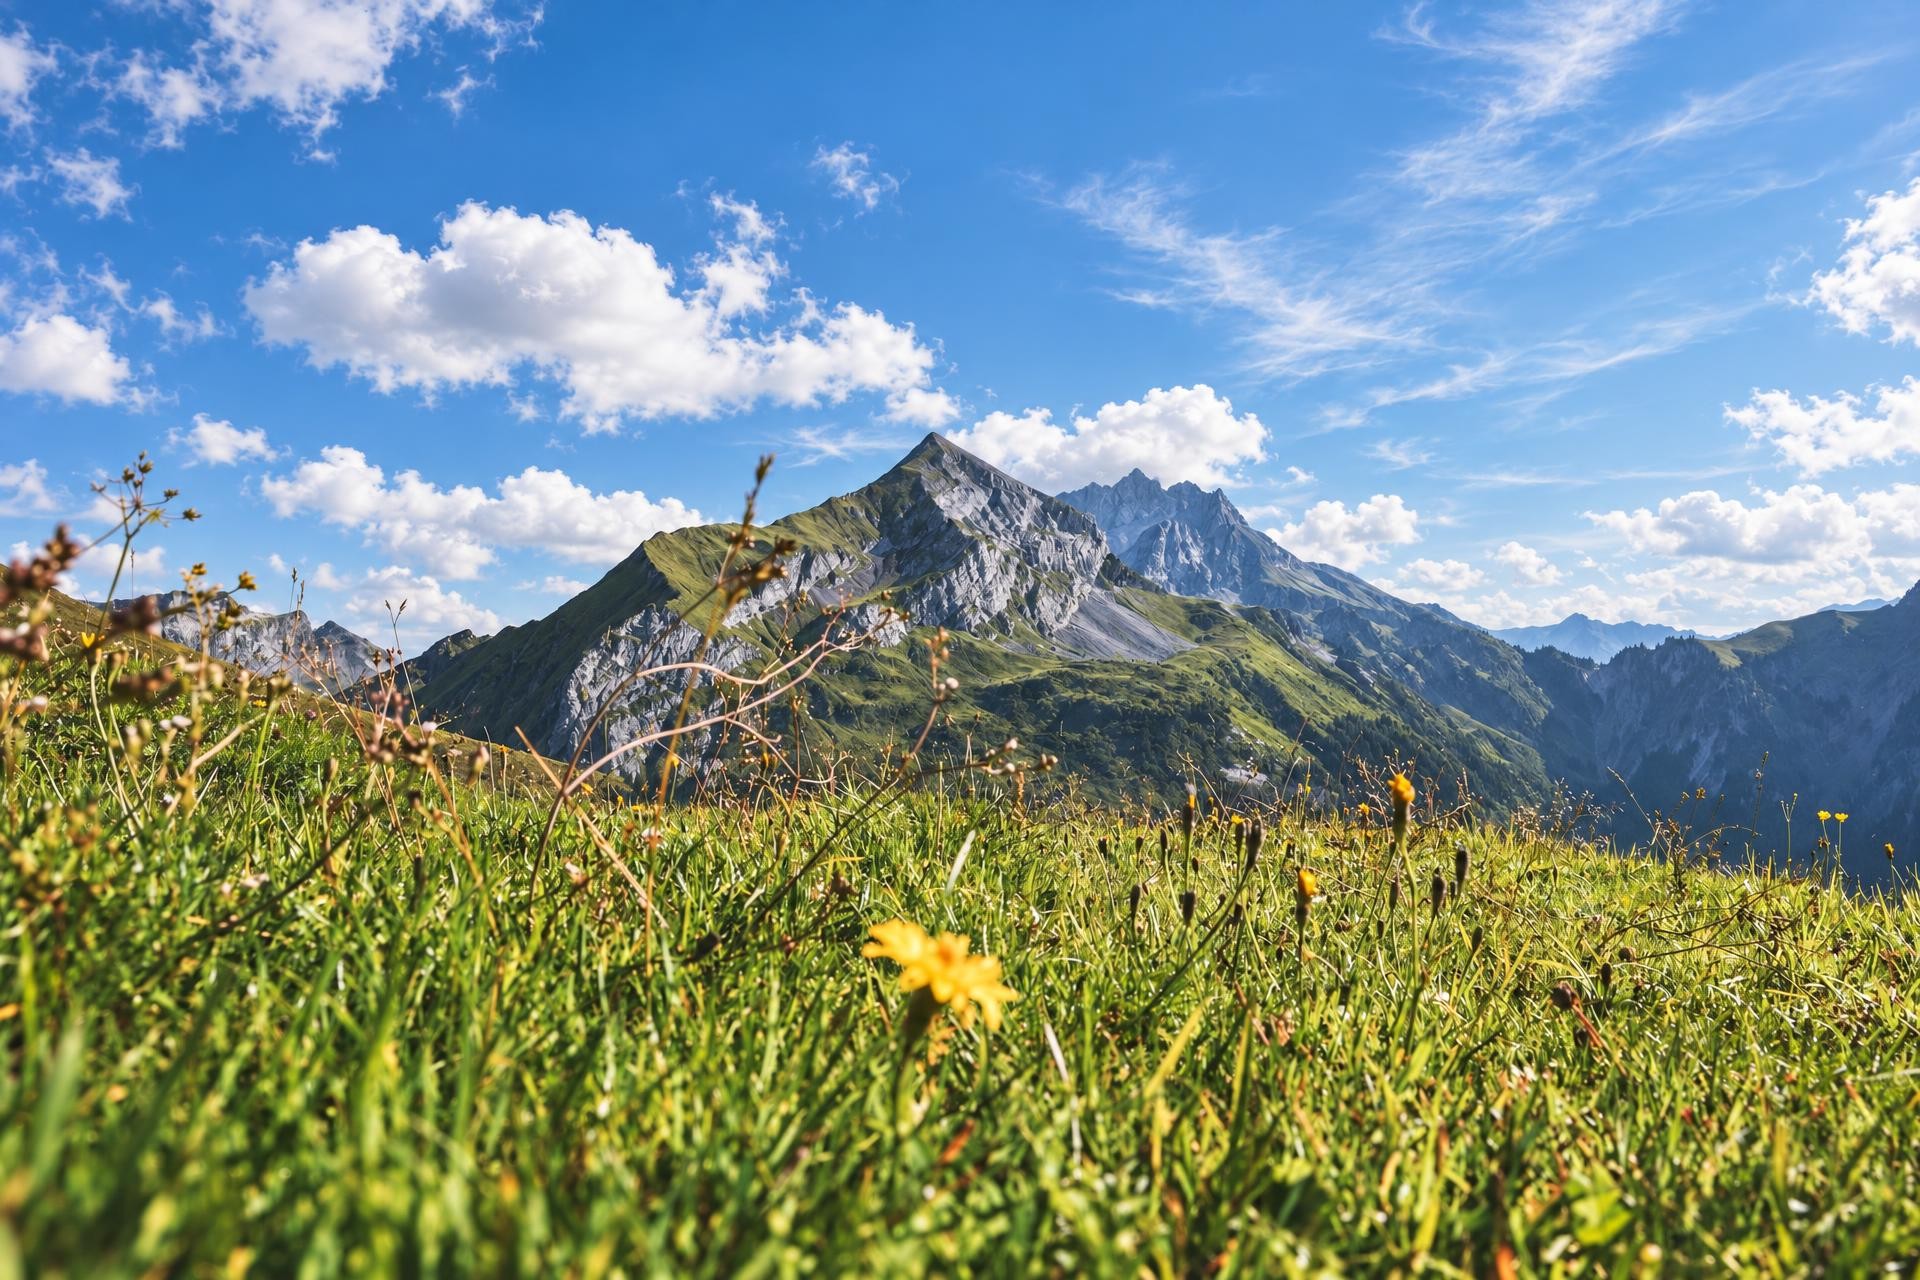
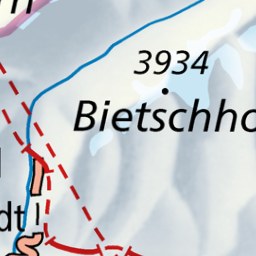
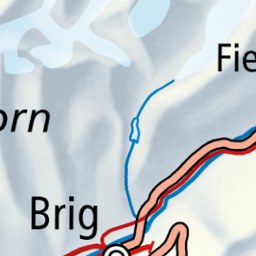
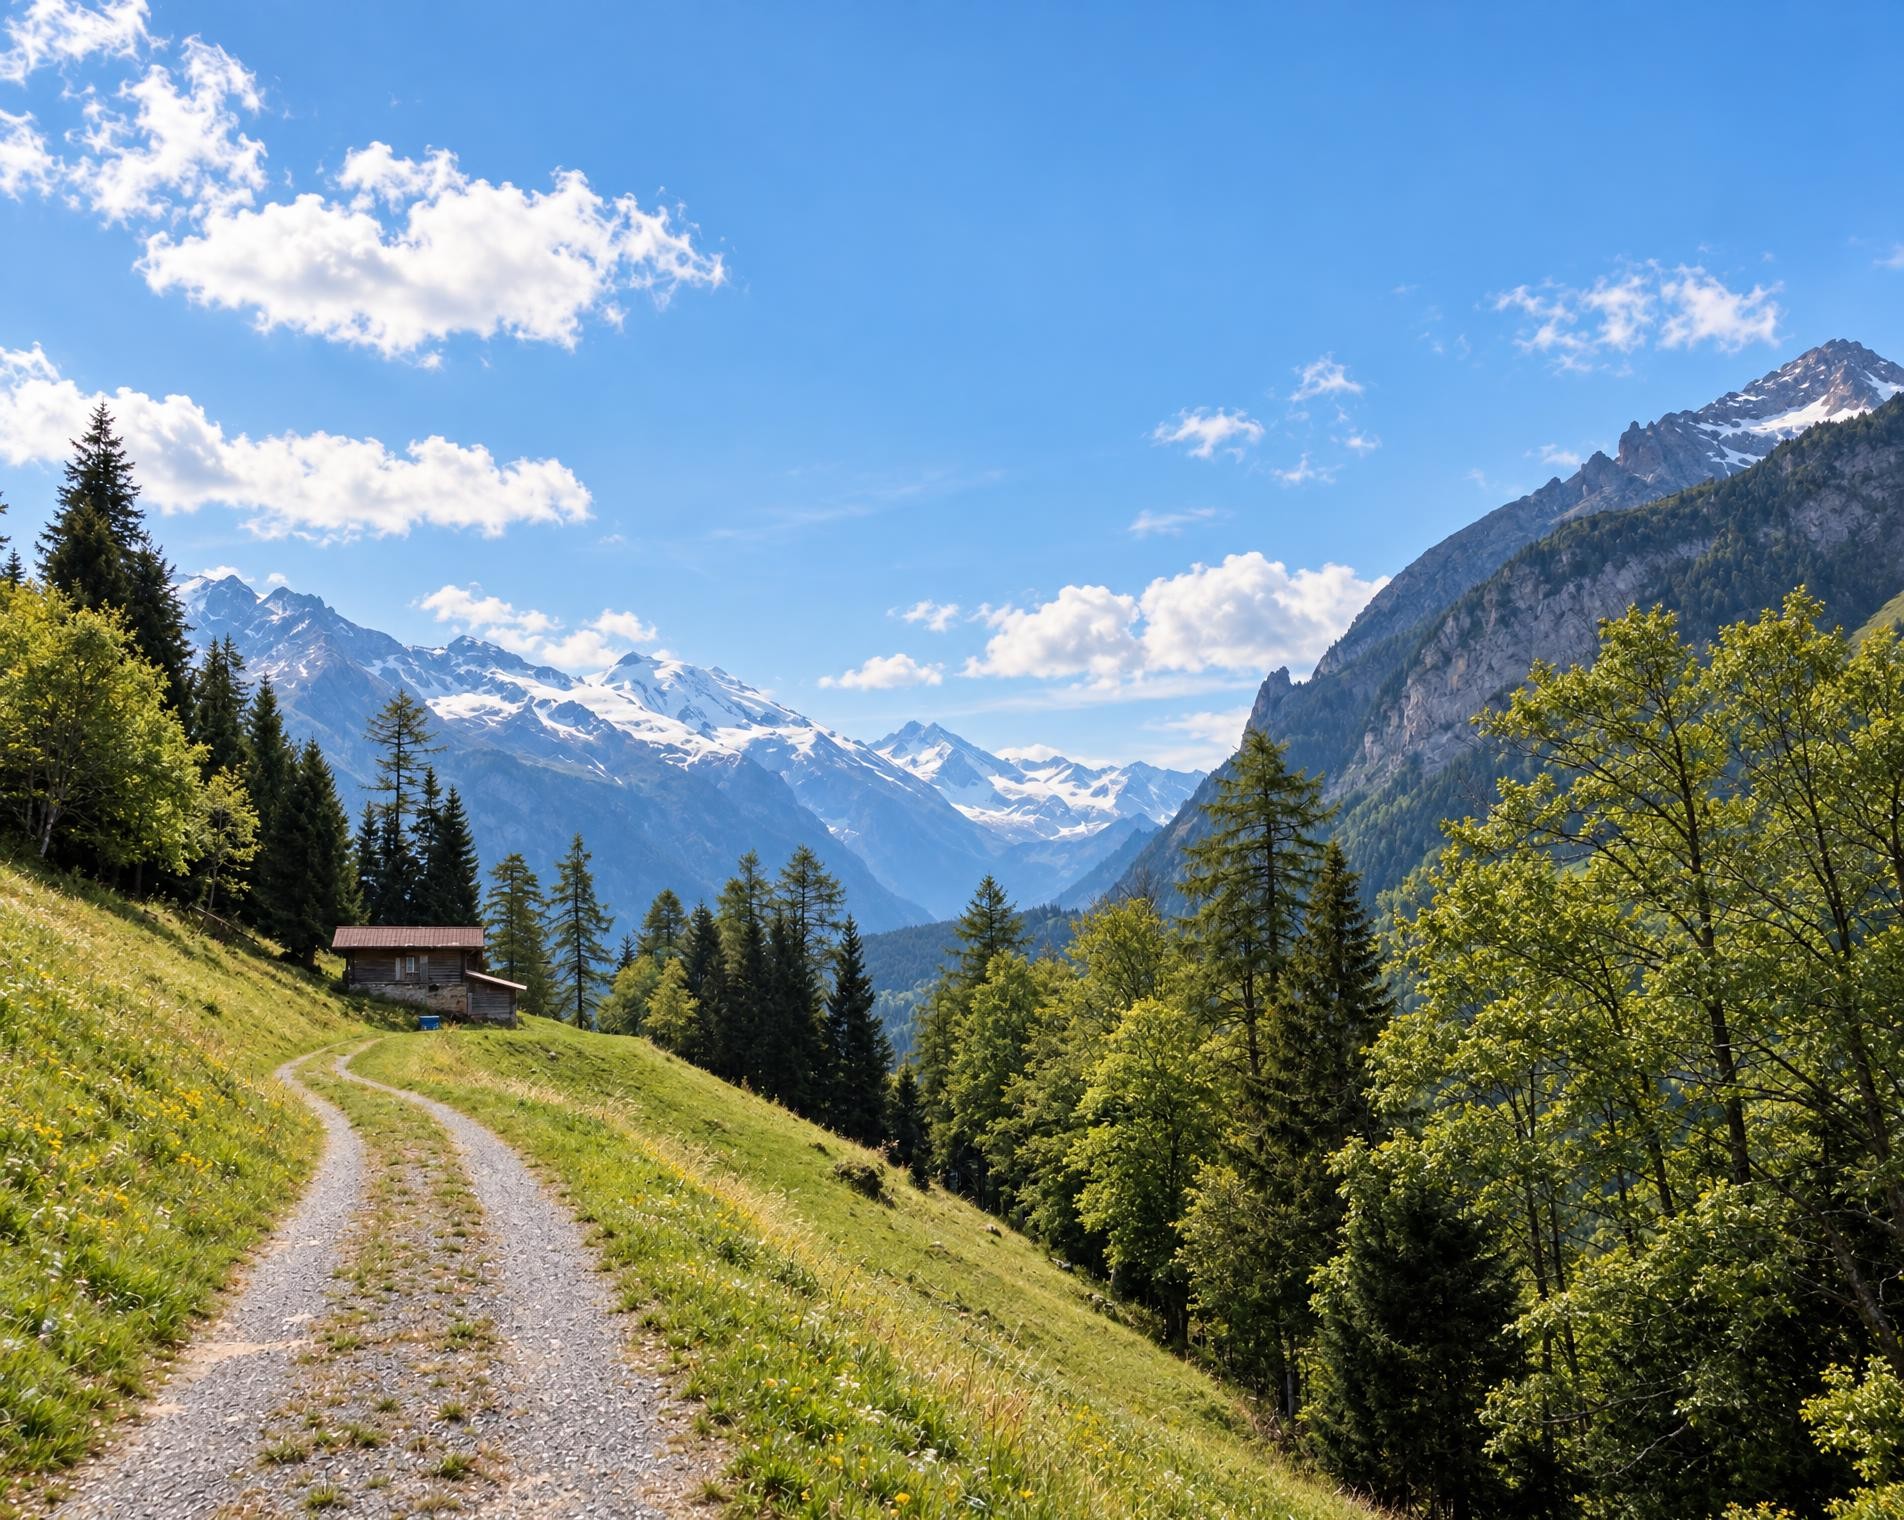
High-level path in Alpine foothills from Kiental to Kandersteg. High above the Kandertal through forests and over Alpine pastures. Fascinating views down to the trains of the Lötschberg Railway, which roll through the Kandertal like a model railway.
The long ascent out of the Kiental begins at the Kiental, Ramslauenen bus stop. The yellow-marked hiking trail passes the first houses and climbs to Ramslauenen, running directly past the Berghaus. Shortly afterwards, the route reaches its highest point at around 1,565 m, on the wooded slopes below the Hore at Rüederigs.
Open meadows and pastures then alternate with longer stretches of forest. Rather than crossing a major pass, the next few kilometres are characterised by constant ups and downs. The Bärentritt barbecue site lies directly on the route, roughly halfway through the second half. Continuing towards Kandersteg, the ruins of Felsenburg stand around 250 metres off the trail. The hilltop castle was built in the late 12th century and once served to control the Lötschenpass.
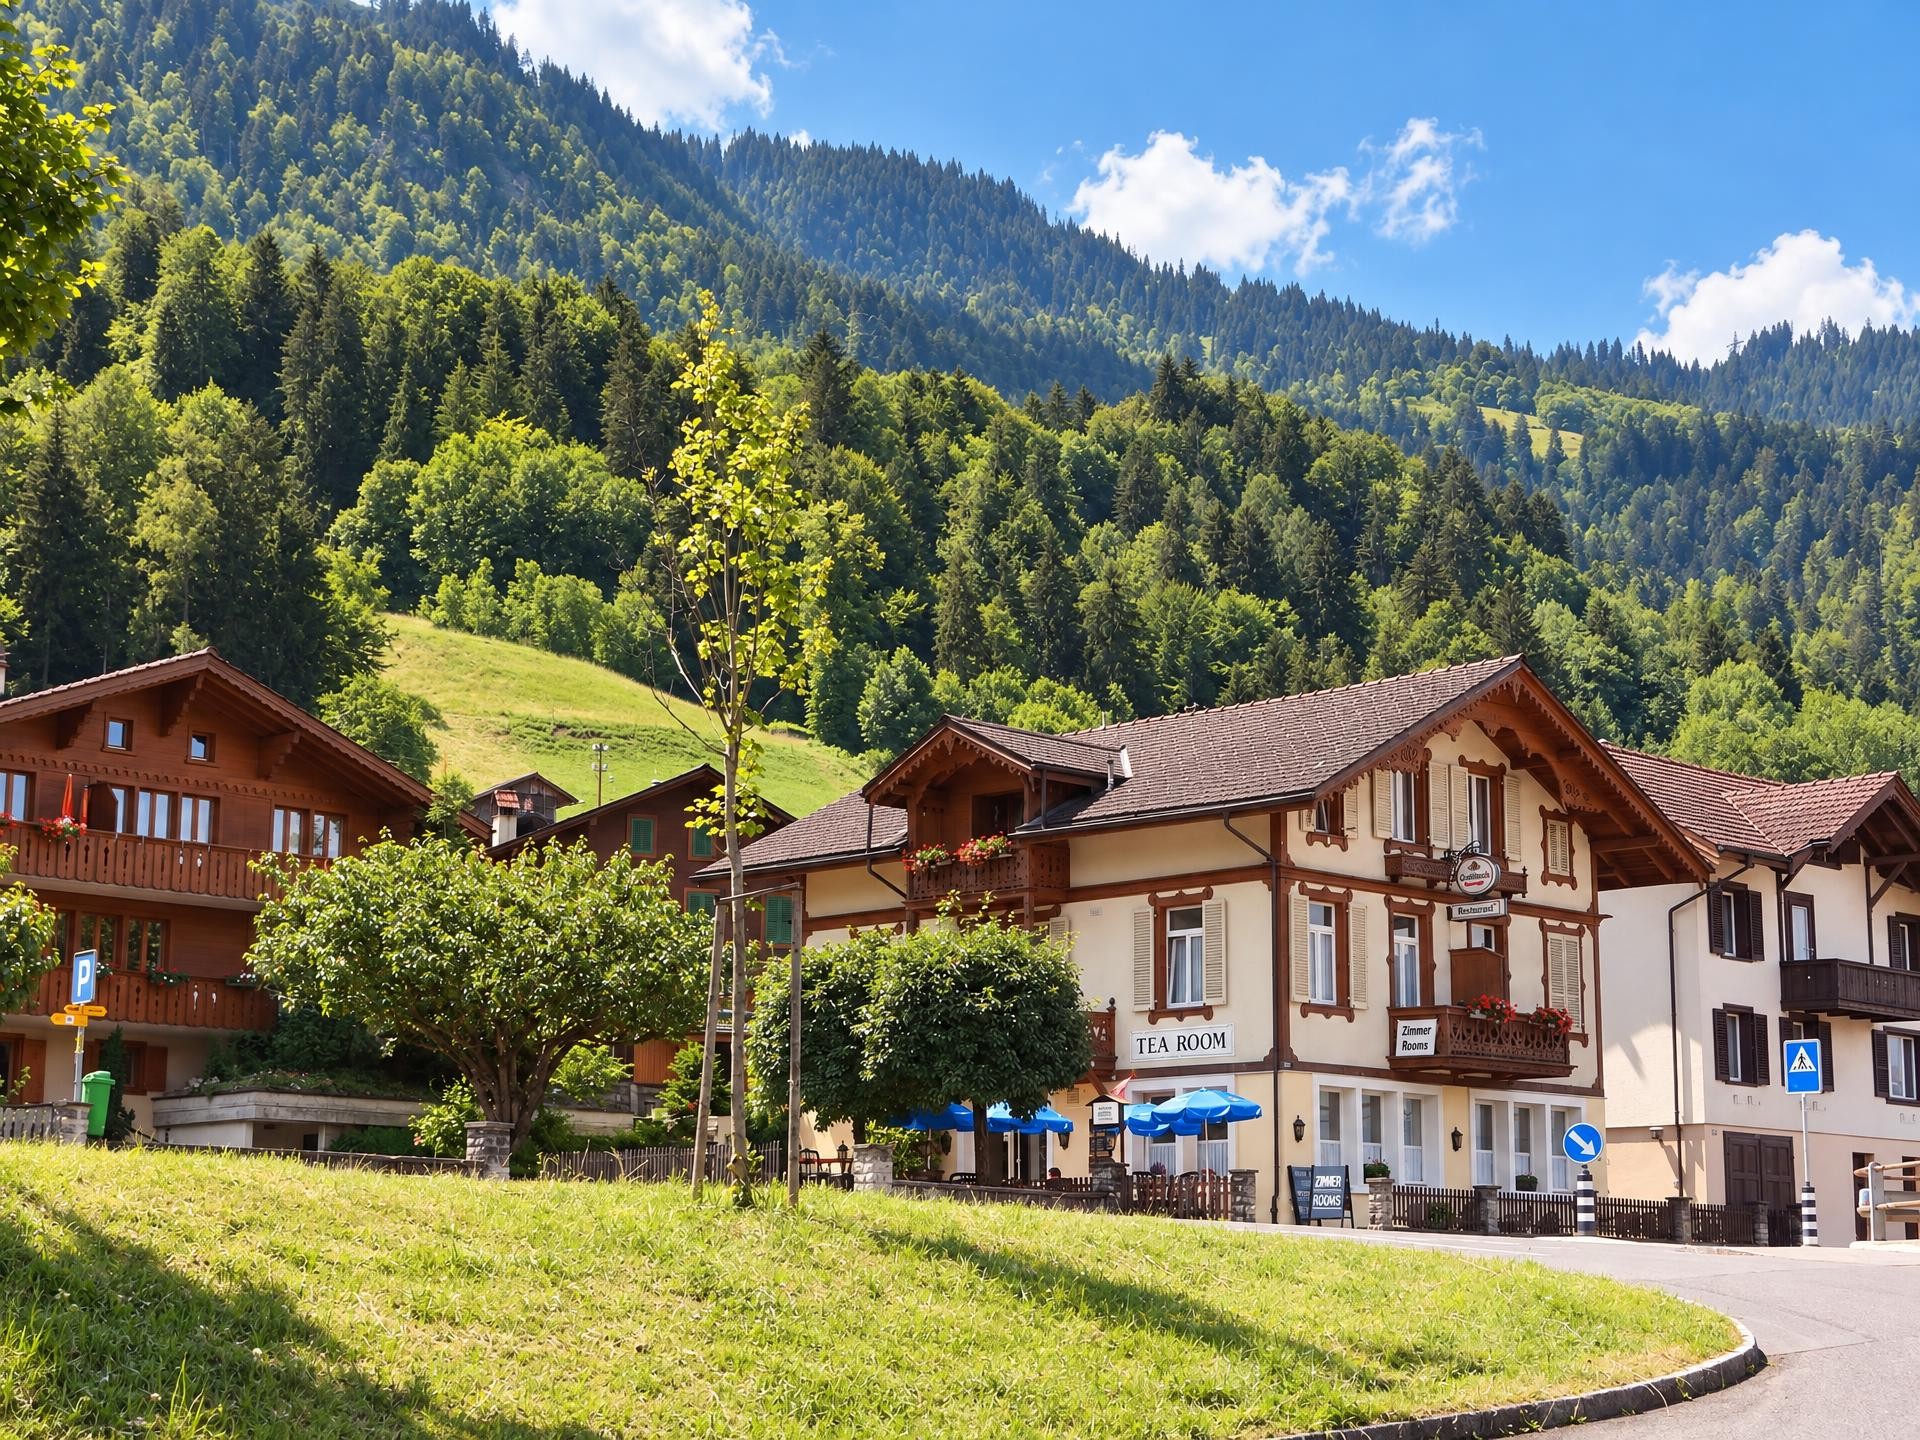
After just over six and a half hours, the route leads through meadows and forest to the first houses of Kandersteg. The approximately 20-kilometre hike ends at Kandersteg railway station in the village.
02/ Along the route
What's along the way
Where the route climbs and where it descends. Hover the profile to find the spot on the map.
03/ Conditions
Current conditions
What to know before you set off. Closures and snow are re-checked every day.
How we check: Every night we match the route against the official closures and detours from the Federal Roads Office (FEDRO). Any reported closure that touches the route shows up here.
How we check: SLF only publishes its snow maps from November 1. Until then we roughly estimate the snow depth at the lowest and the highest point of the route every day from the nearest SLF measuring stations. Check the situation on site.
04/ Getting there
Getting there
From your door to the trailhead and home again, by train and bus or by car. Computed live from the timetable.
Or from
Outbound
Return
05/ Weather
Weather on the way
Forecast for the lowest and the highest point of the route.
Weather
06/ Trail & landscape
Trail & landscape
Which paths you walk on and the landscape they lead through.
Larches count as conifer forest here.
07/ Snow
Snow on the route
Snow depths, new snow and forecast. Estimates: check the situation on site before you set off.
Snow Info
08/ Export
Take the route with you
Load the track onto your GPS device, print a route sheet for the trail or send the route to your hiking group.
Share
Send the link to friends or your hiking group.
Export GPX File
For hiking apps, GPS watches and navigation devices.
Print Route Sheet
A4 with map, elevation profile, waypoints and emergency numbers.